December 6 & 7, 2026 - Red Butte Garden Holiday Open House and Gift Fair. Learn More Here
May 14 - 17, 2026 - Salt Lake Art Show at the Mountain America Expo Center, Sandy, UT
December 6 & 7, 2026 - Red Butte Garden Holiday Open House and Gift Fair. Learn More Here
May 14 - 17, 2026 - Salt Lake Art Show at the Mountain America Expo Center, Sandy, UT
Purchase Red Dragon Glass: Shop Red Dragon Glass
Click this link to sign up for the Red Dragon Glass Art Newsletter Sign up now!

Email Red Dragon Glass Art
See the Google Map http://goo.gl/maps/QBFoQ
People ask how I get inspiration. The truth is, it comes from all over, but it really starts to form in that space between being awake and sleep. When my mind is free to wander. The Bison Skull Mosaic came from that half awake state.
First, I have to thank my nephew Derek of Fowl Weather Taxidermy (https://www.facebook.com/FWTaxidermy or https://www.instagram.com/fowl_weather_taxidermy_/) for hooking me up with a skull and shared his sources for some of the extras I needed to complete my first mosaic.
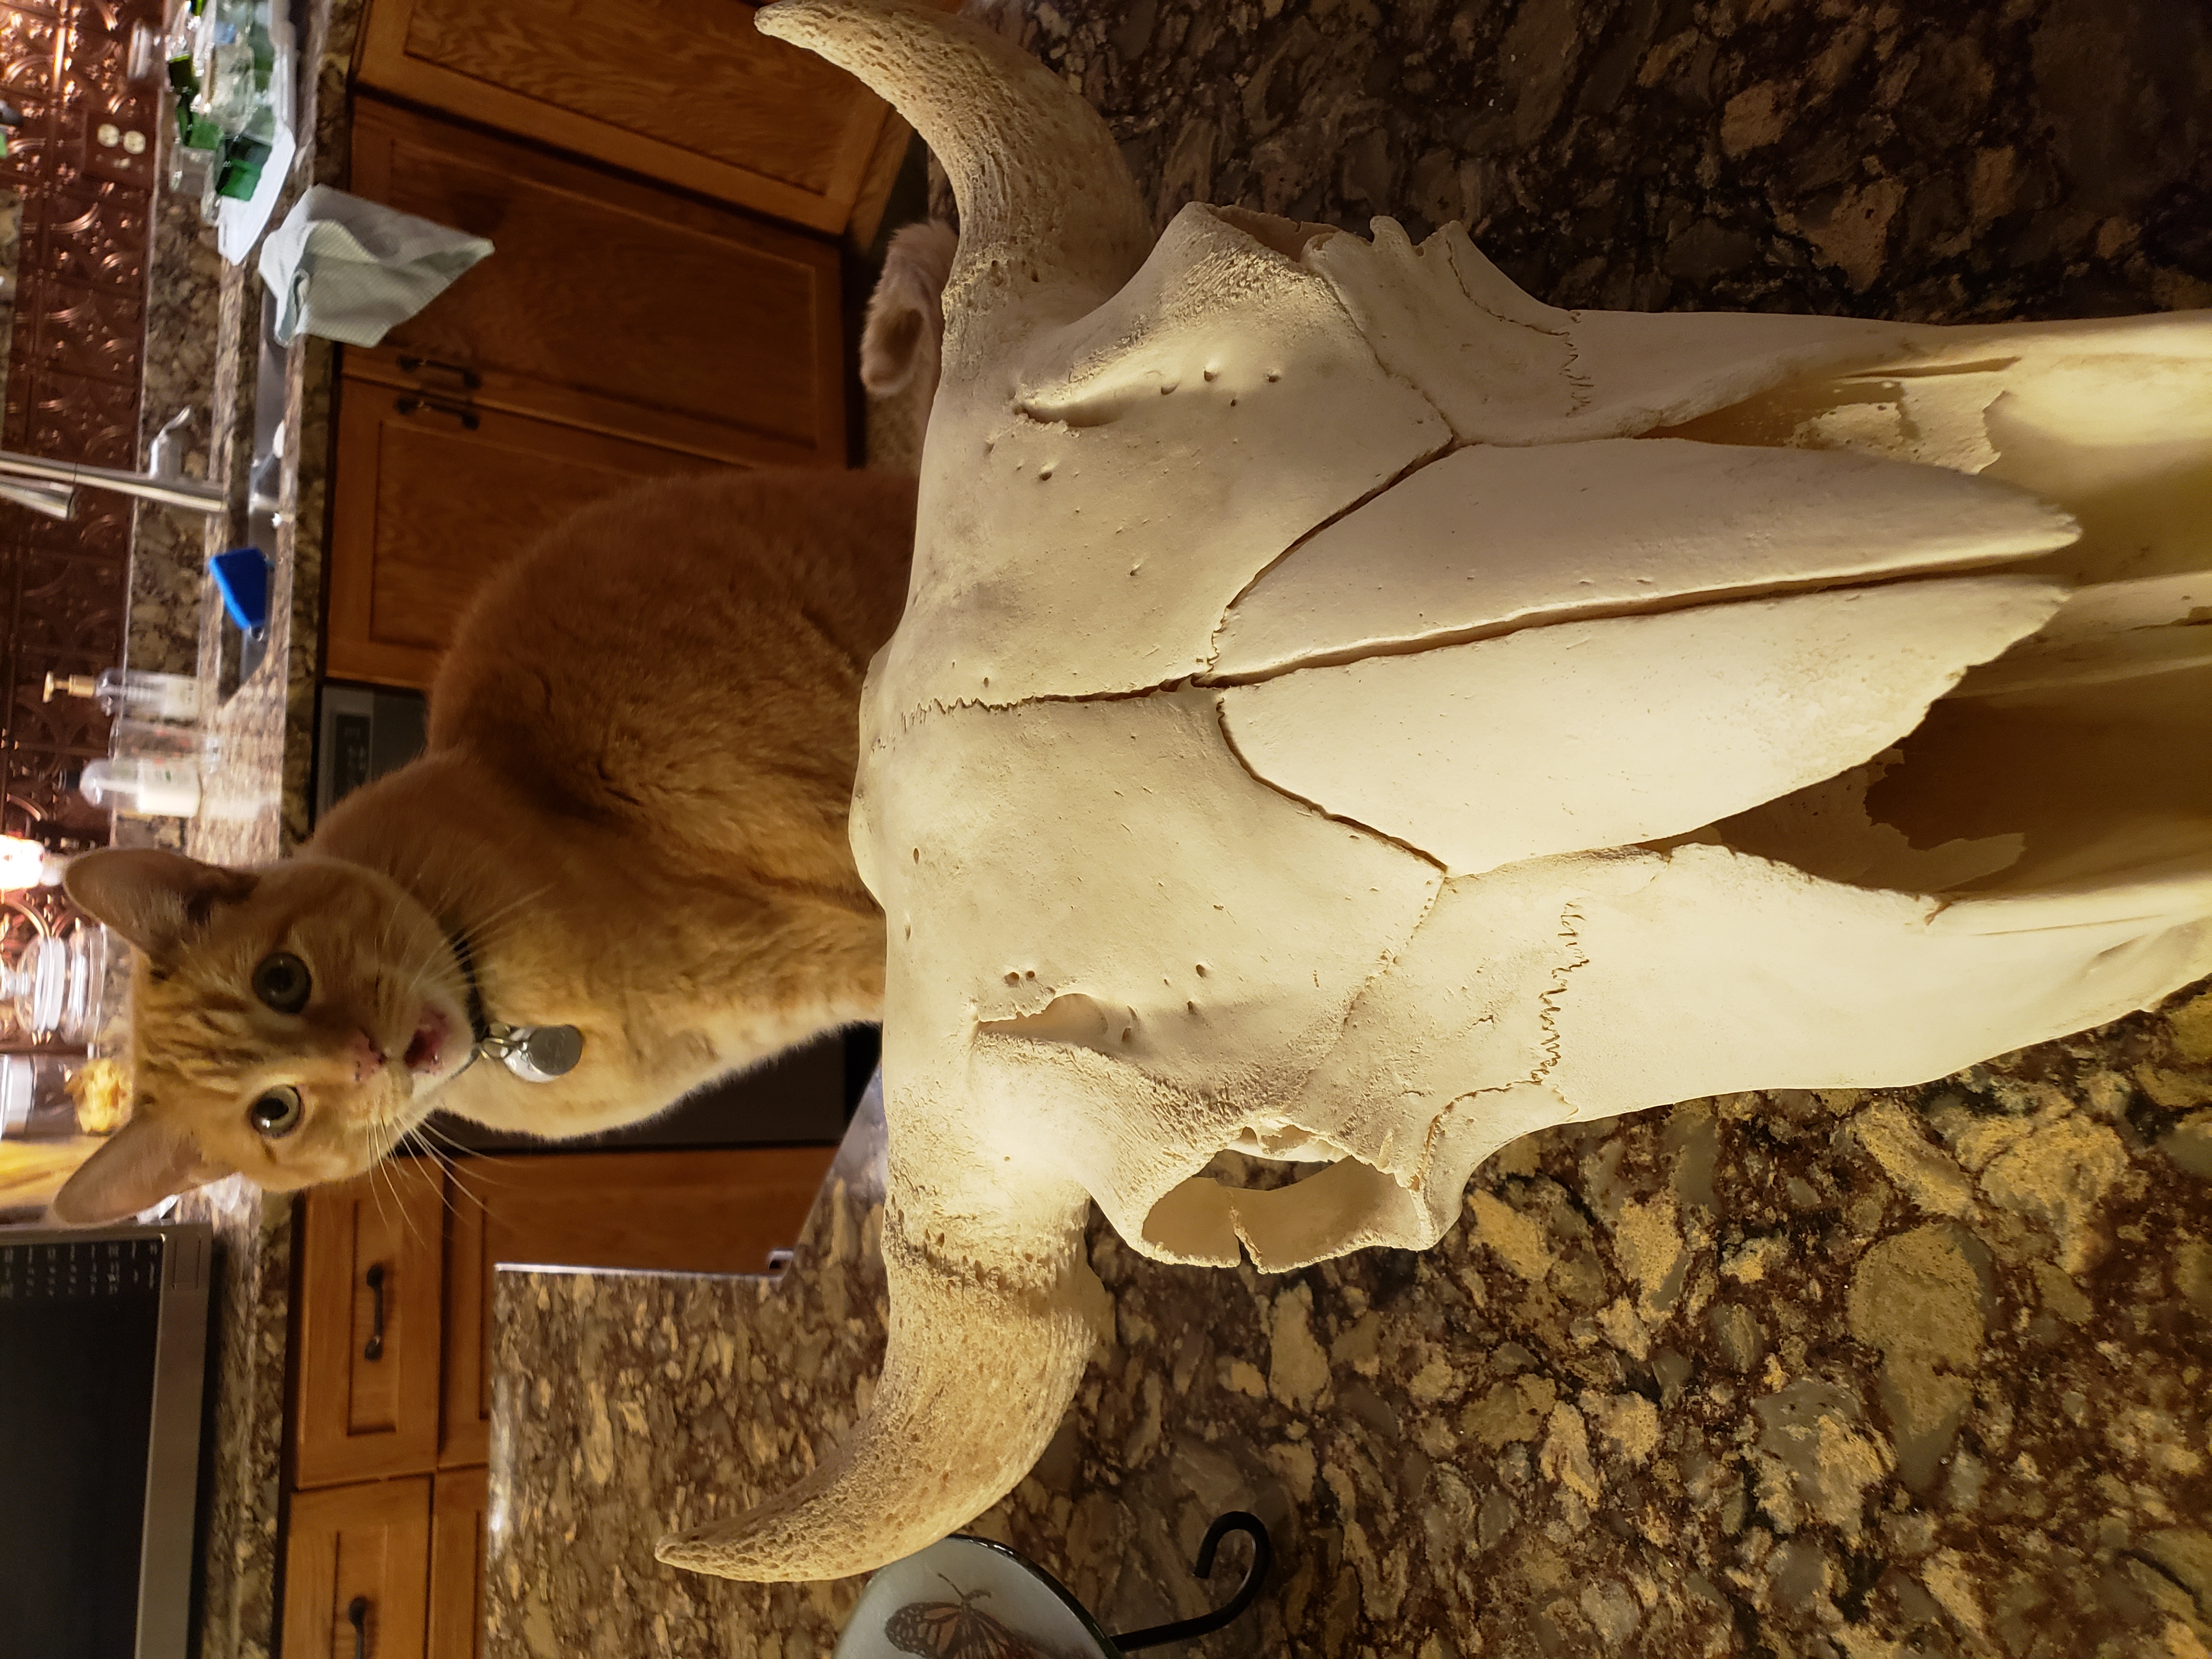
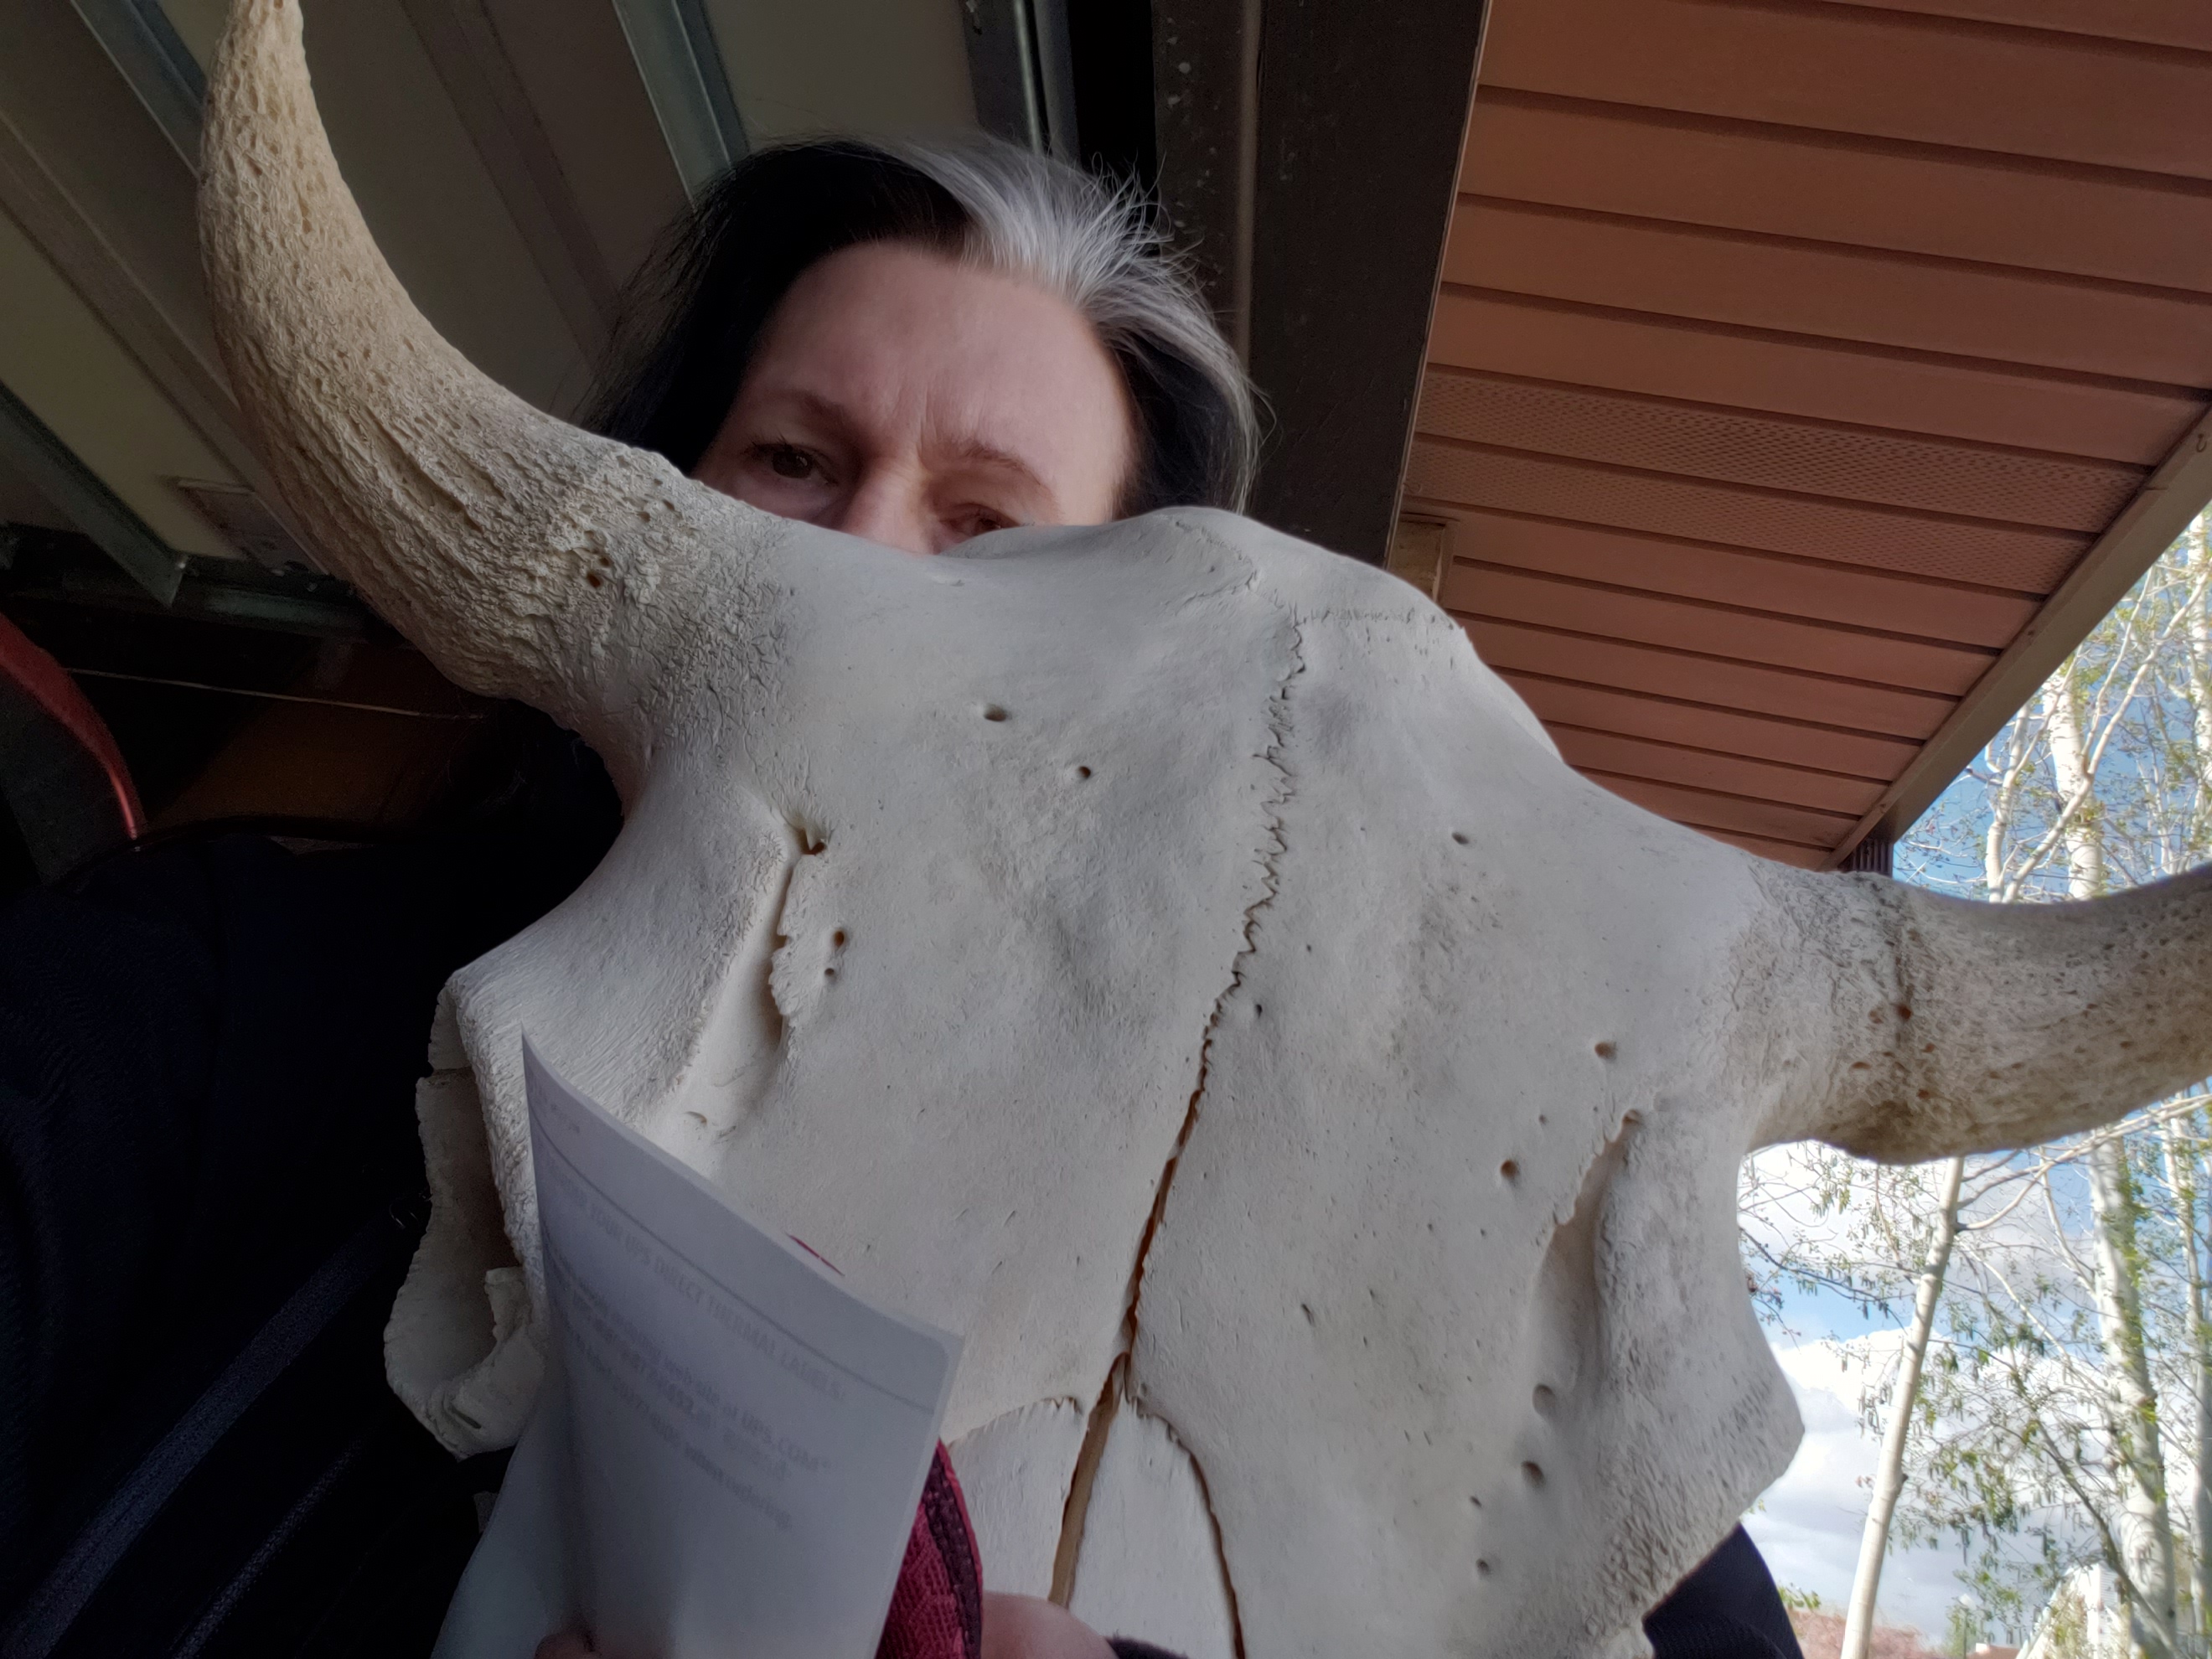
First, I wasn't prepared for how BIG a bison skull would be. Neither was #NotMcCat
 |
|
I had to spend some time with the skull to get a feel for what I wanted to do with it. In that time I learned how to gild glass using the supplies and demos from Angel Gilding. That was fun, and I'm sure I'll be doing more in the future. I love the look of mirrored art glass.
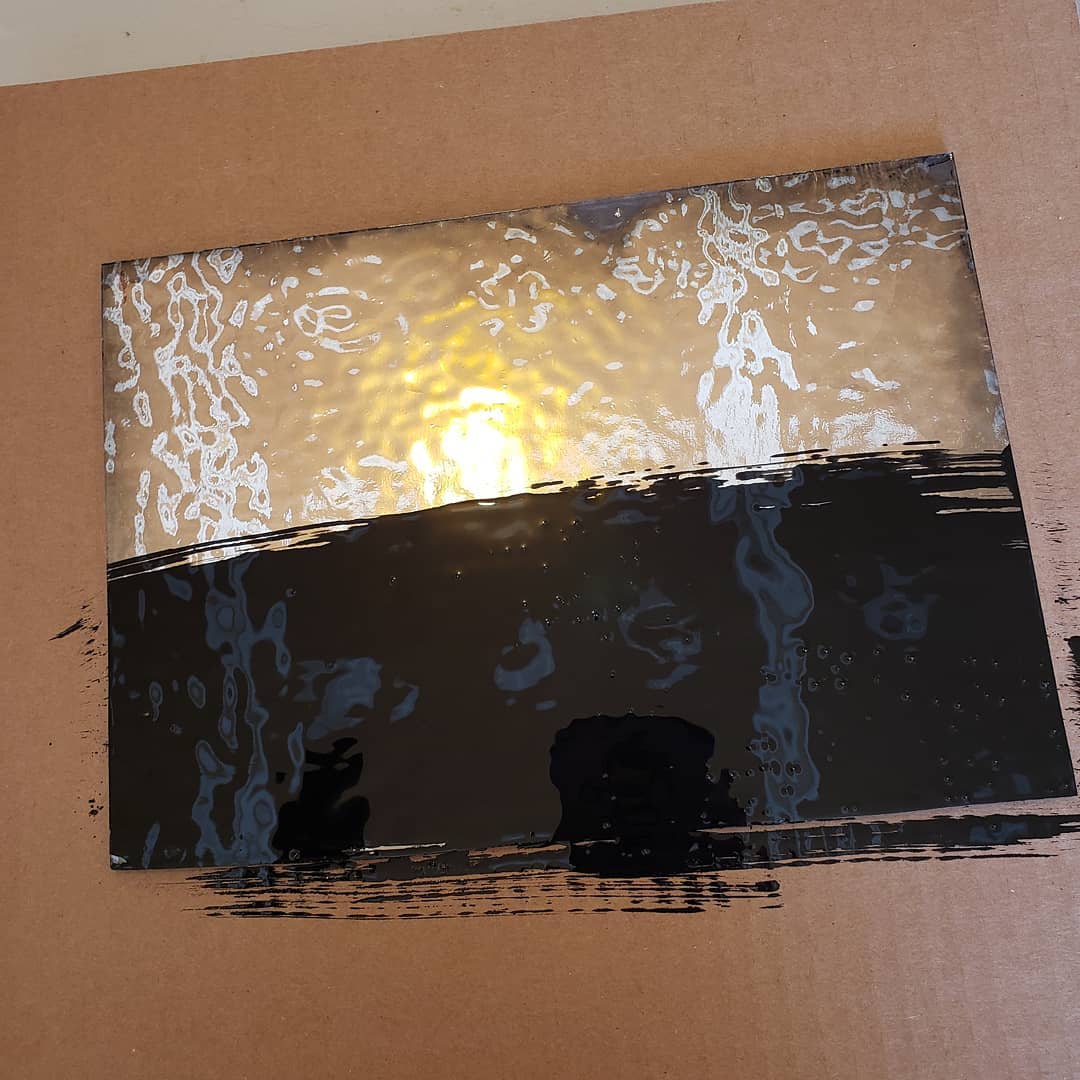
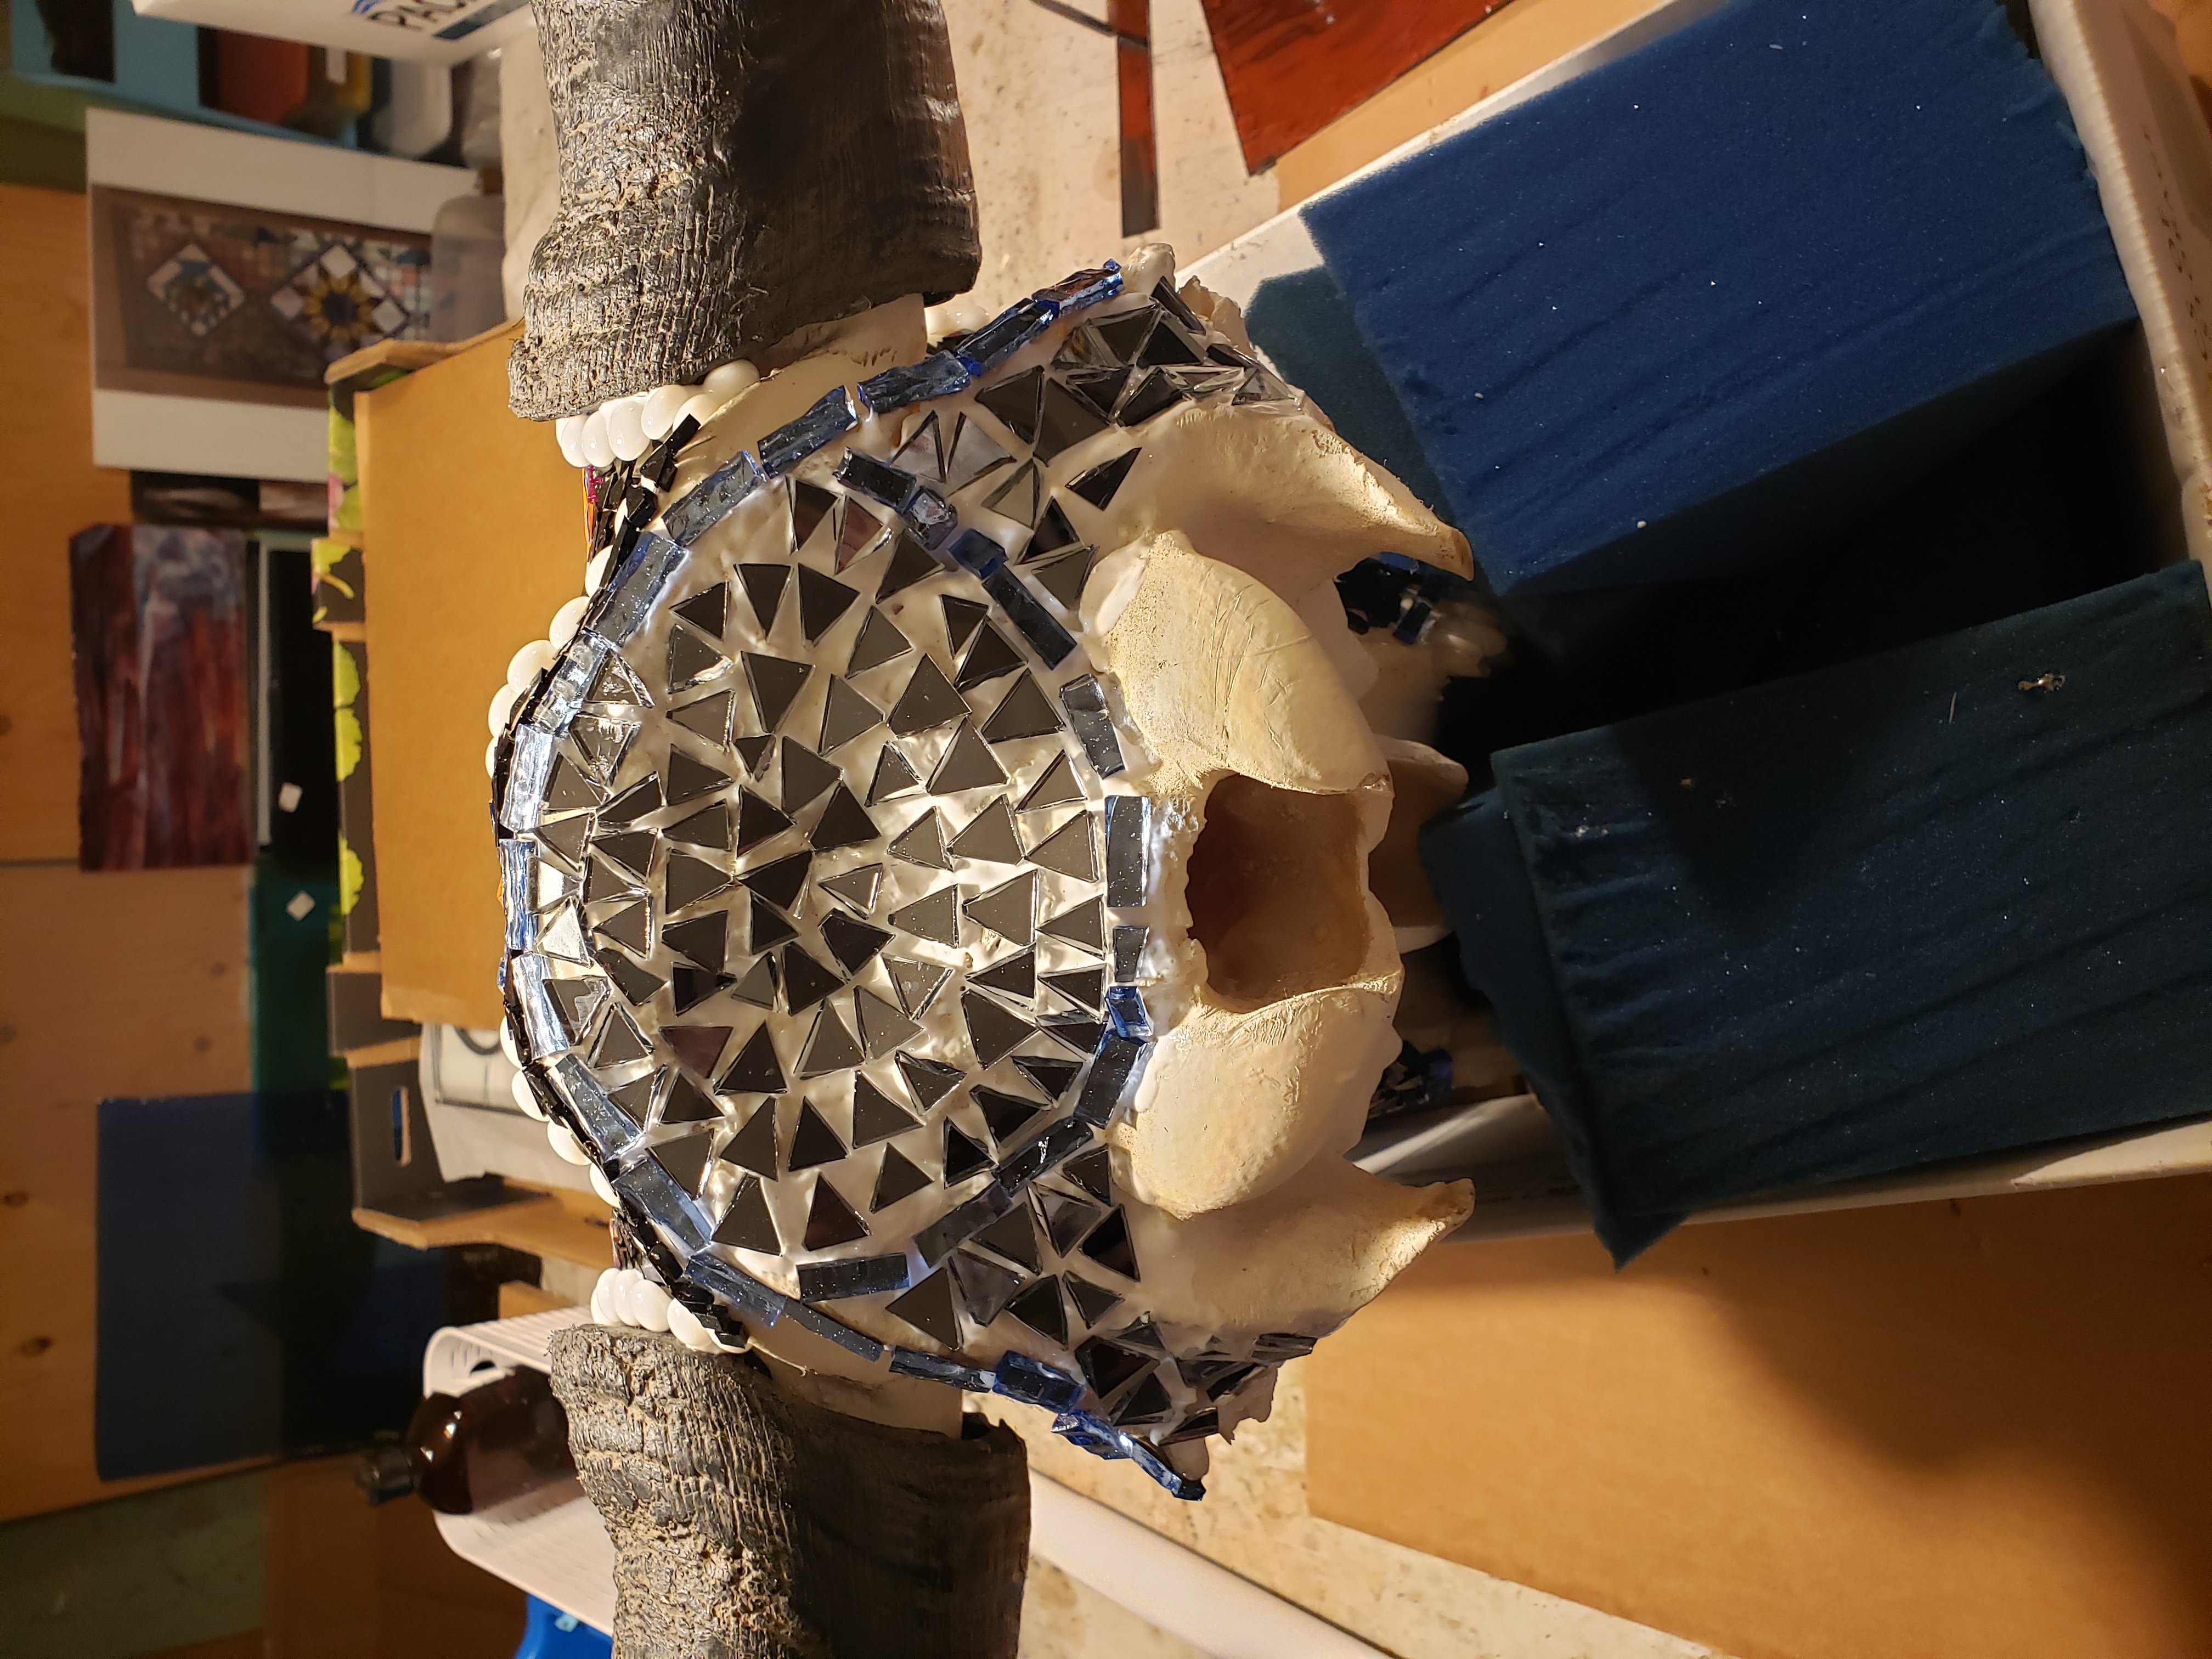
Finally I got started on the skull. Before I started attaching glass tiles I coated the working surface with a coat of Weld Bond glue. Then, using more Weld Bond, I started attaching glass tiles. I started out with Galena gilted clear glass - it looks like a black mirror.
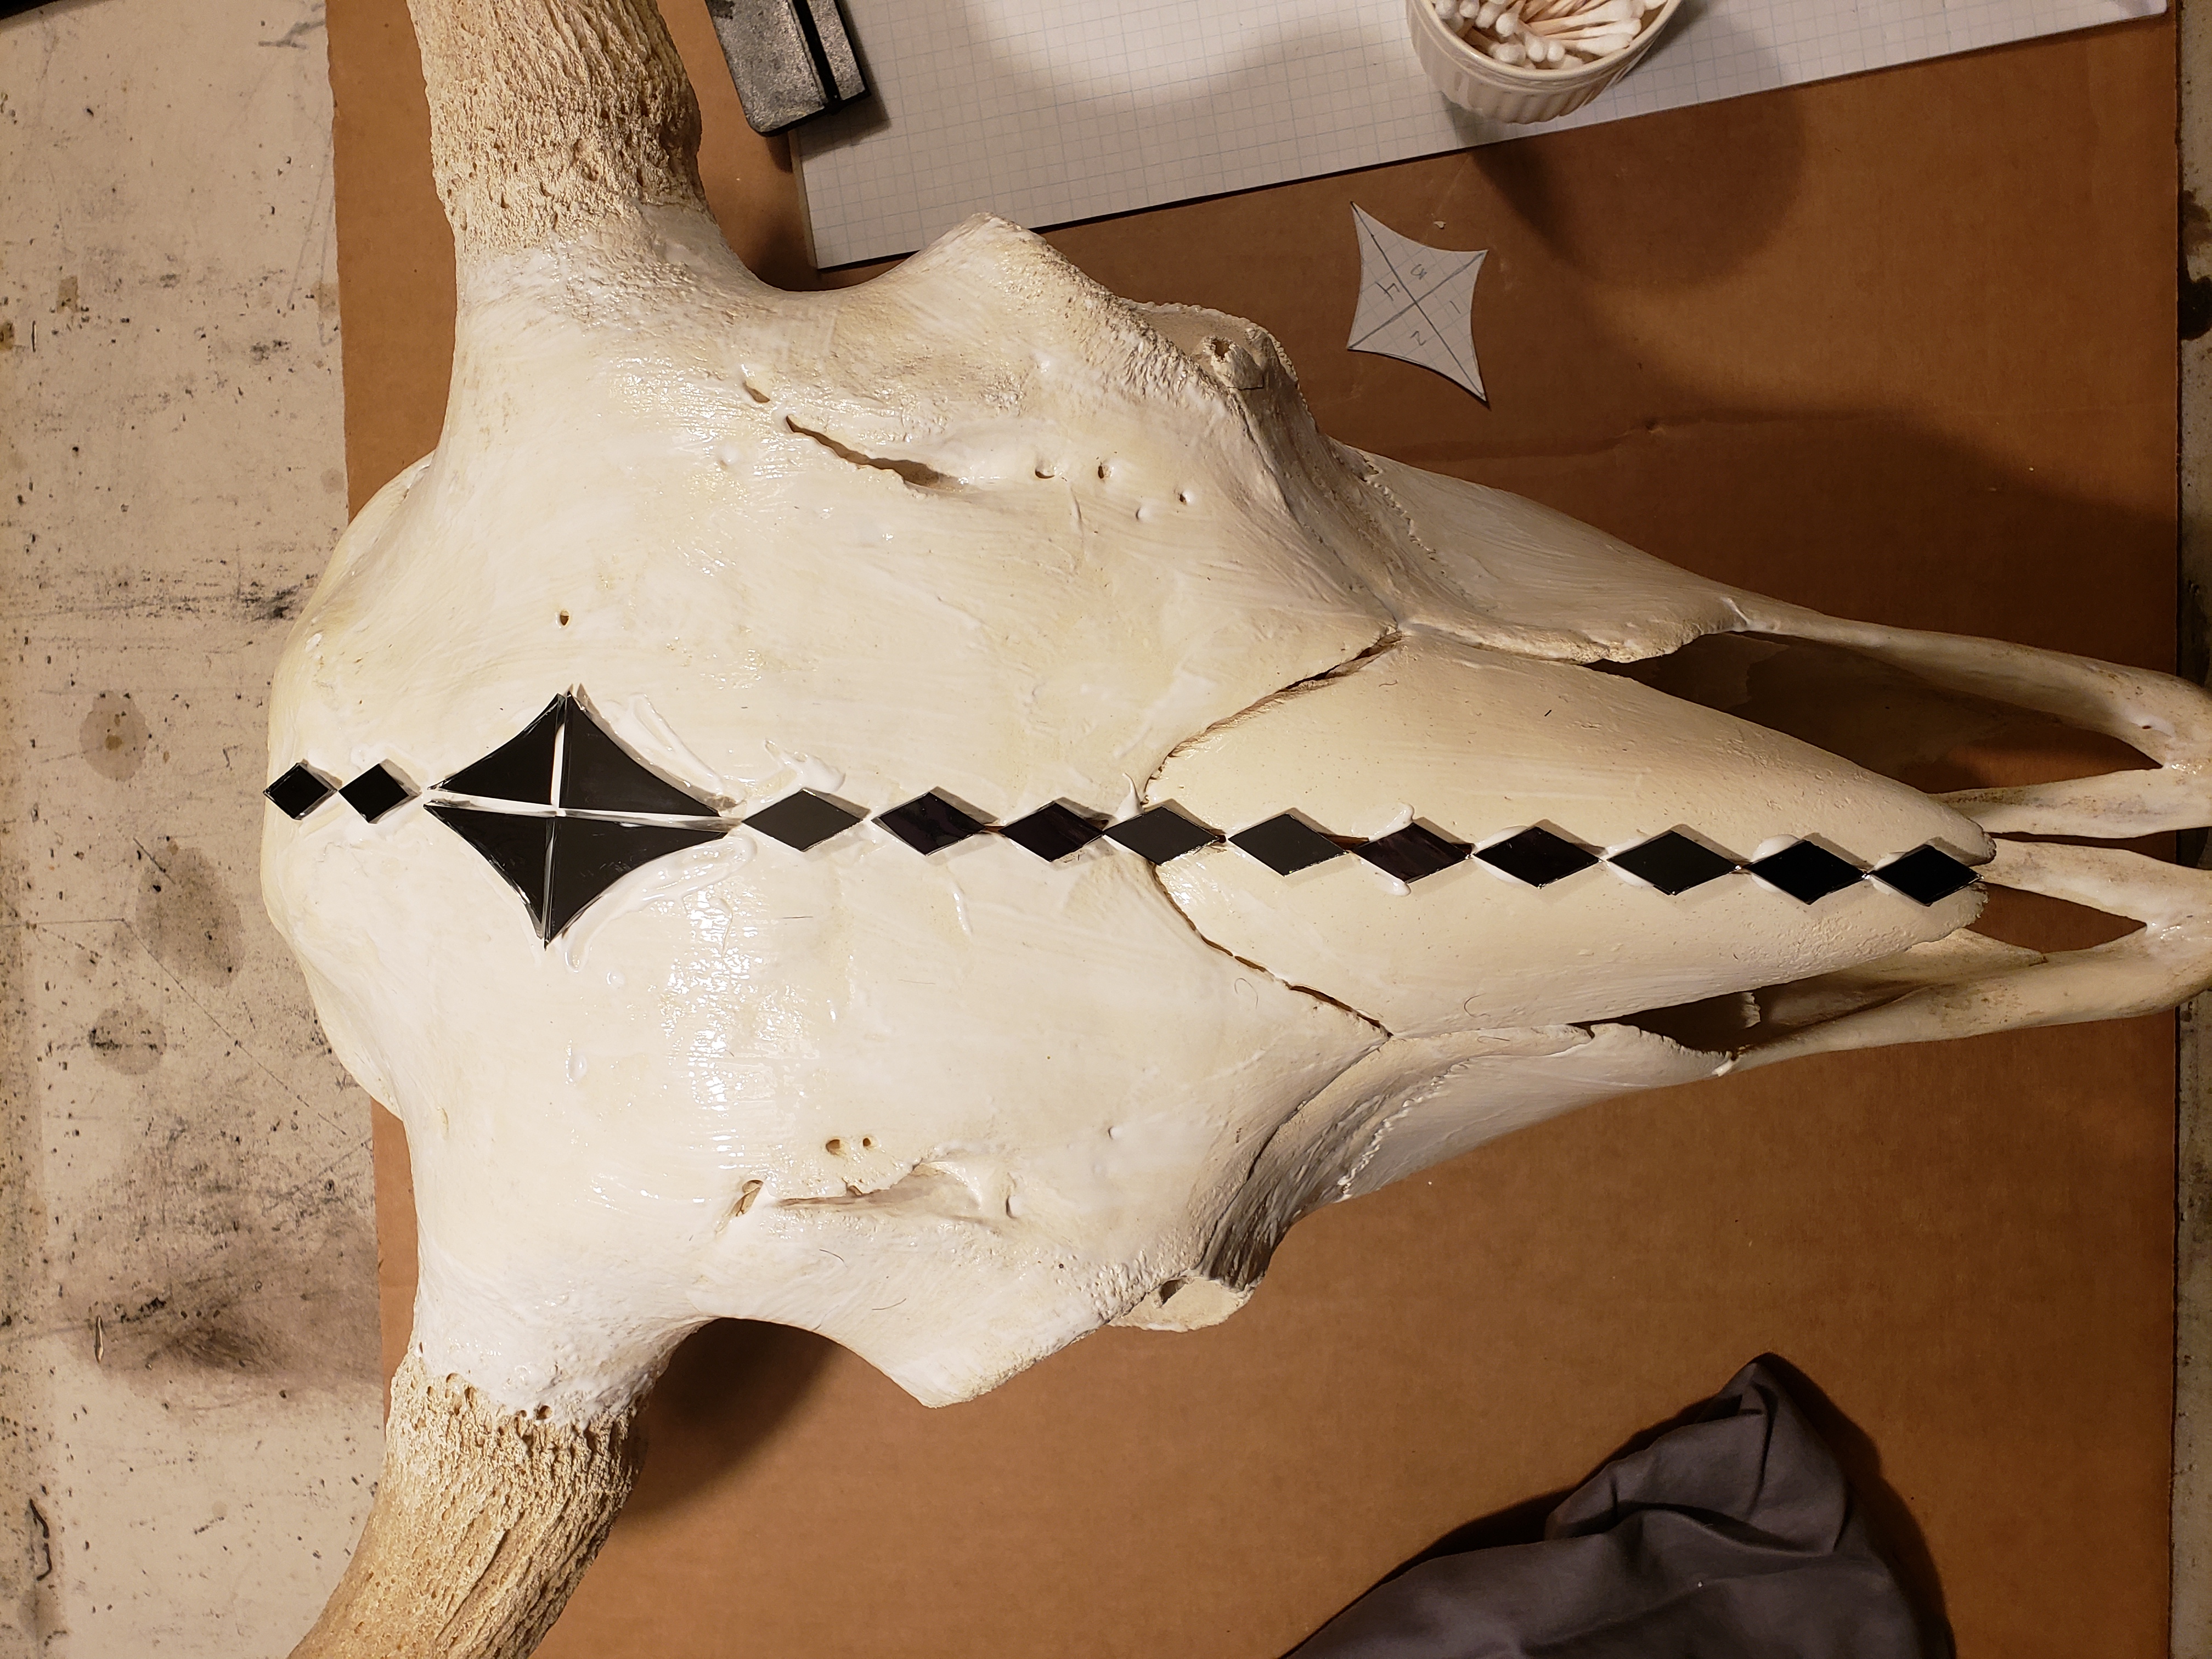
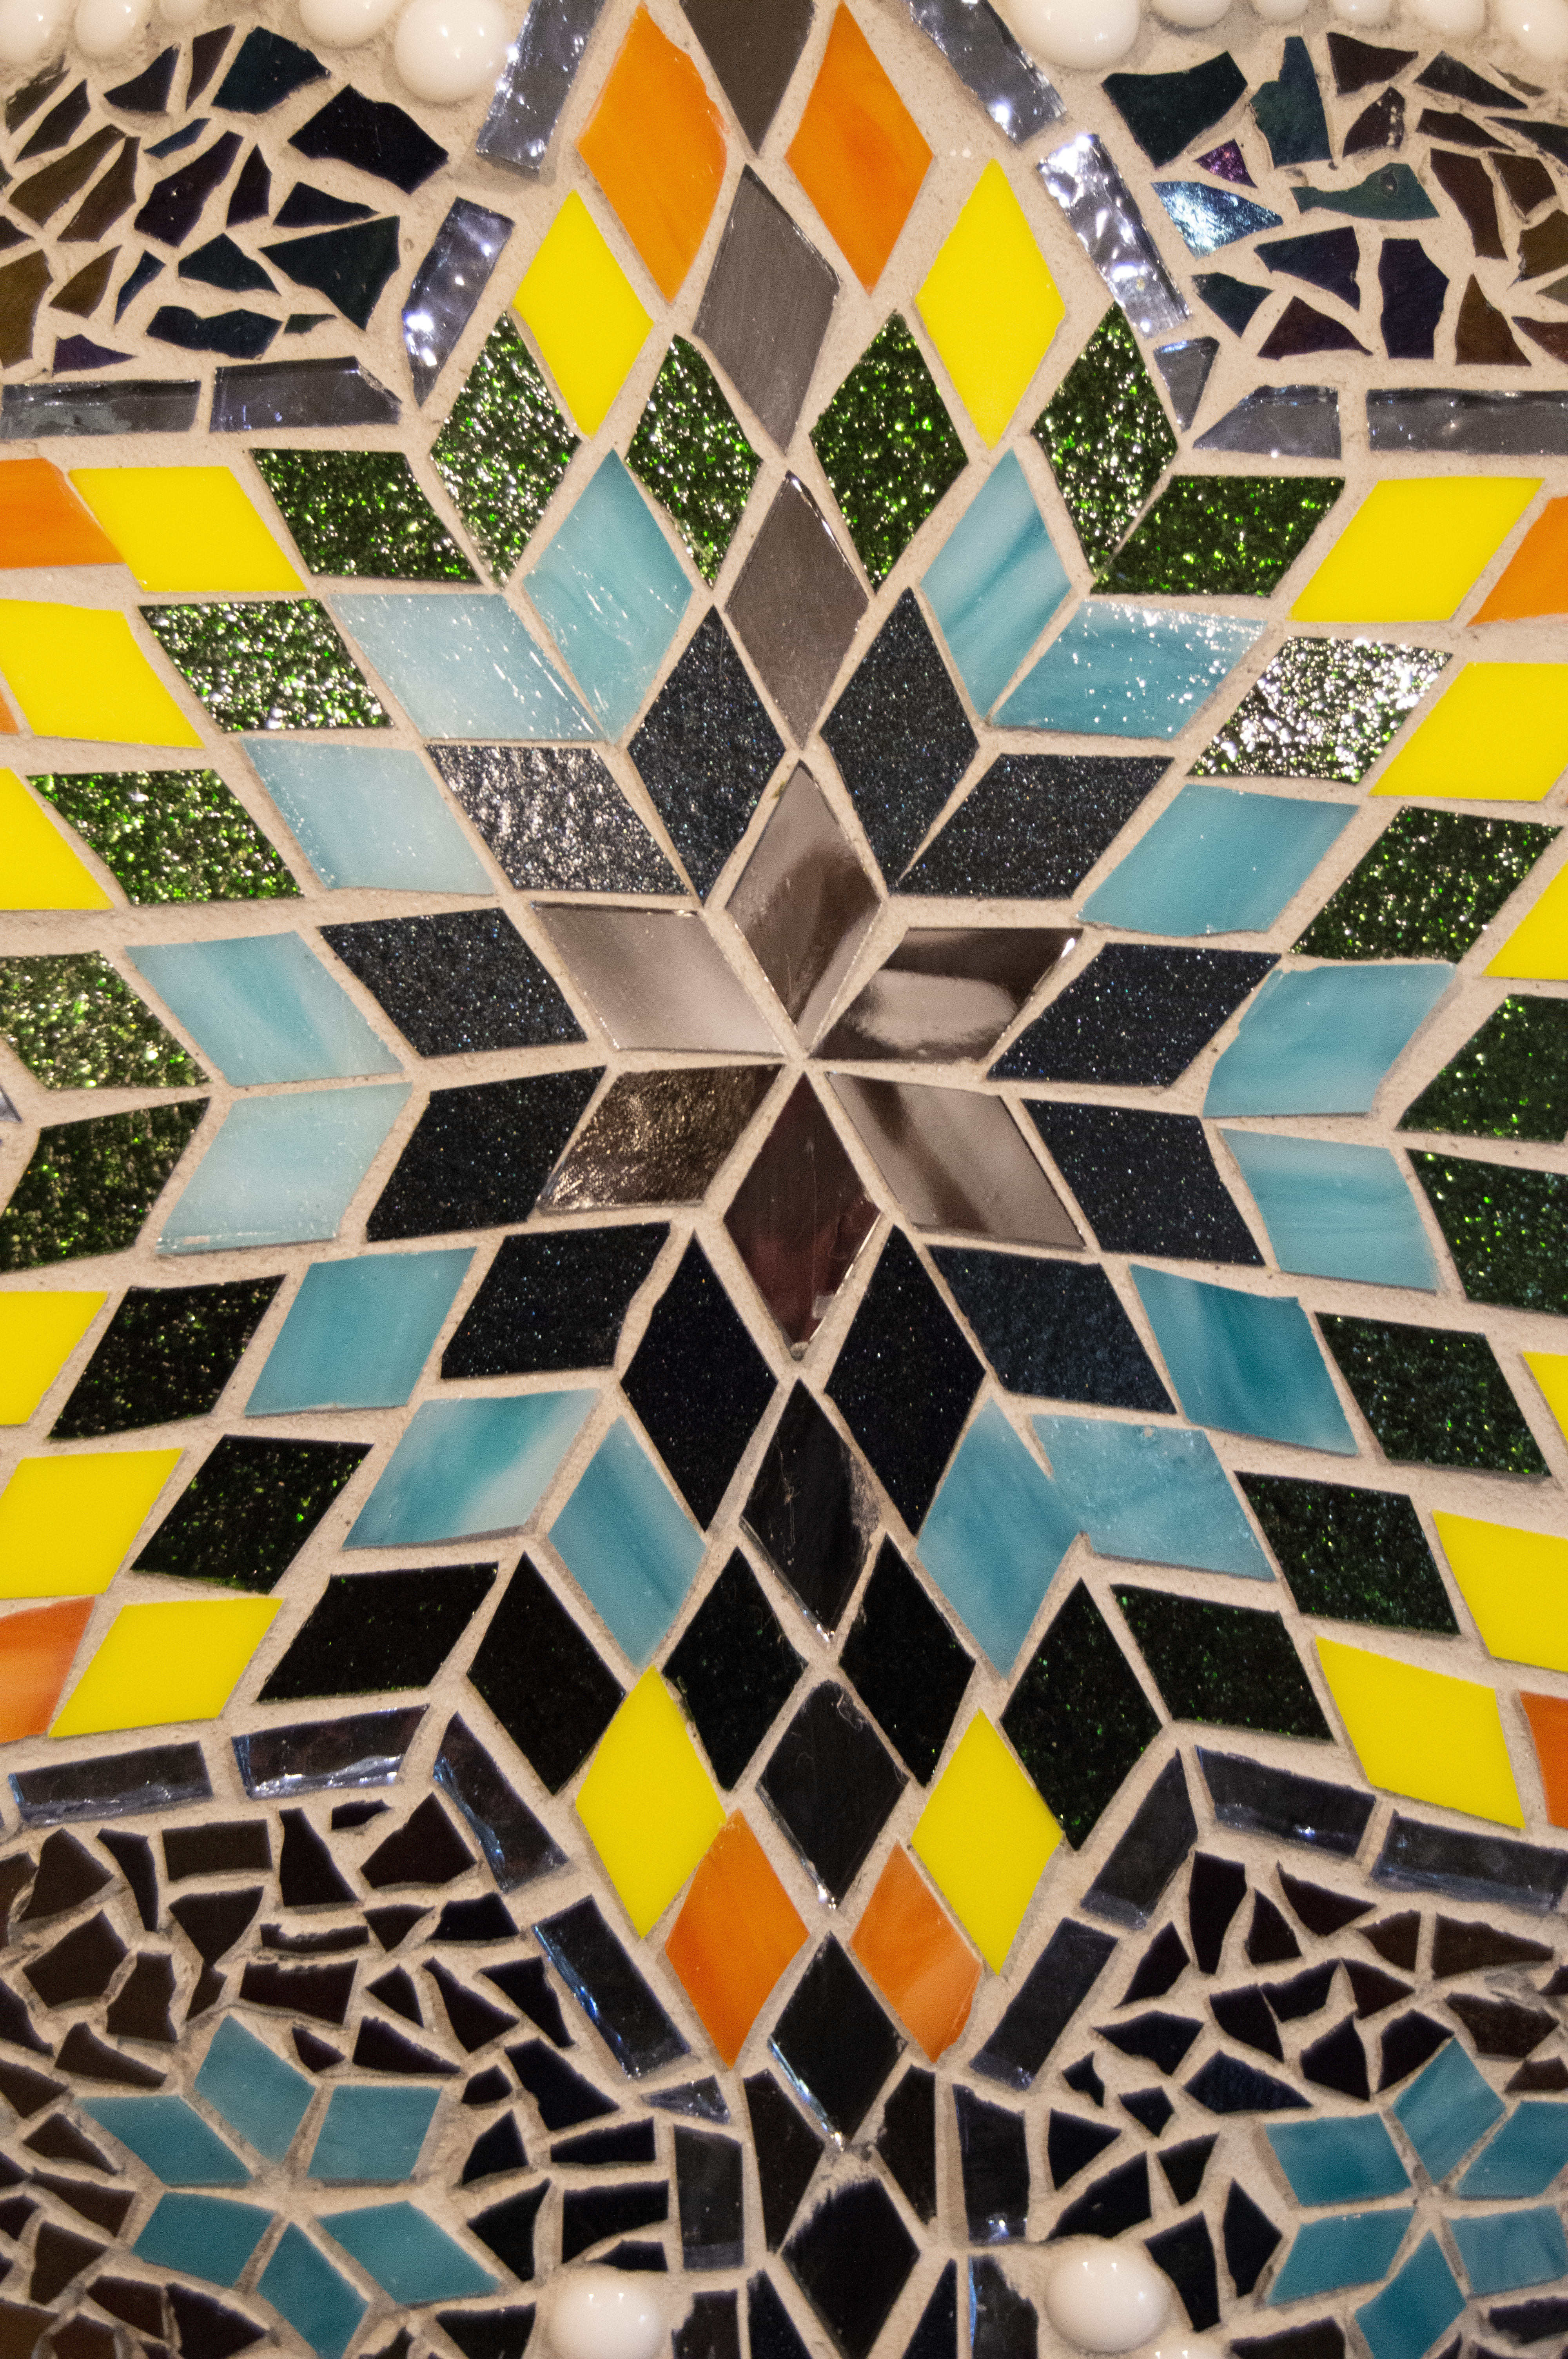
And then I changed my mind... popped off a few of the mirrored tiles and started again. An idea had solidifed - A take on the Lone Star quilt motif. I thought it was fitting for a bison.

This is my first attempt at a mosaic. Not working on a flat surface was a real challenge. Propping the skull at angles so I could work, and using painters tape to keep some pieces in place while they dried. It was slow going - working on a small section at a time then letting the glue set up overnight.
 |
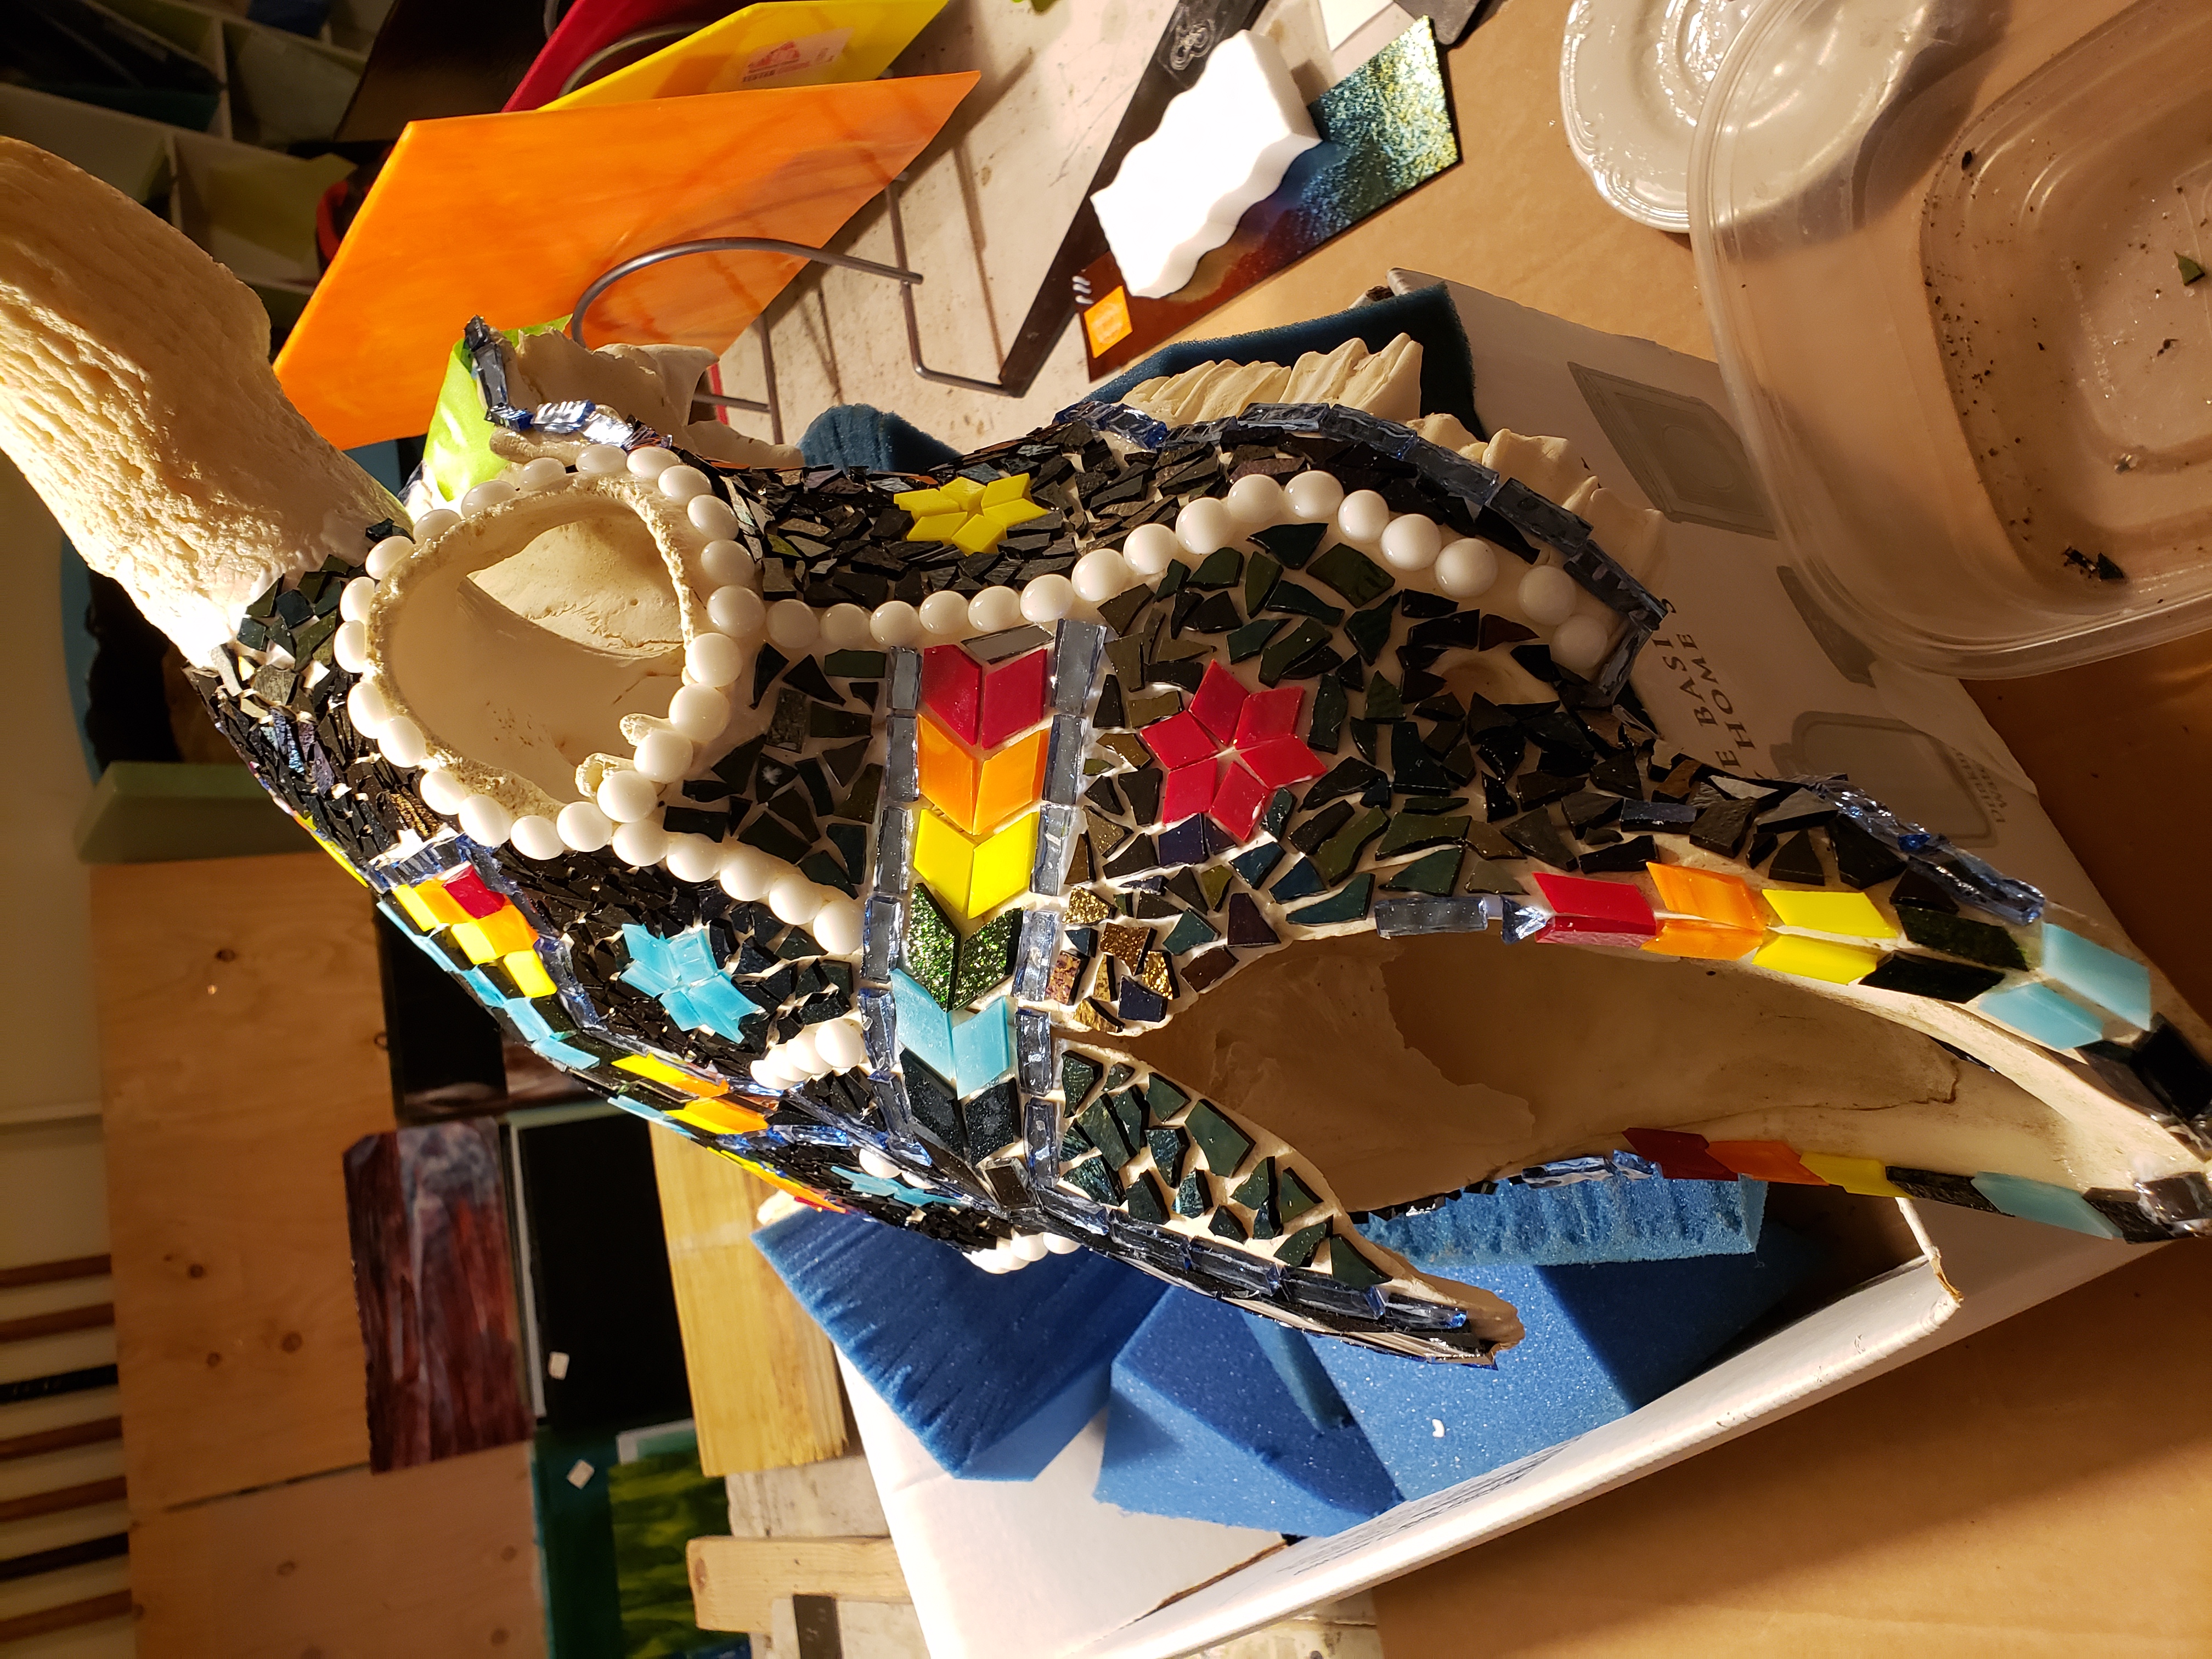 |
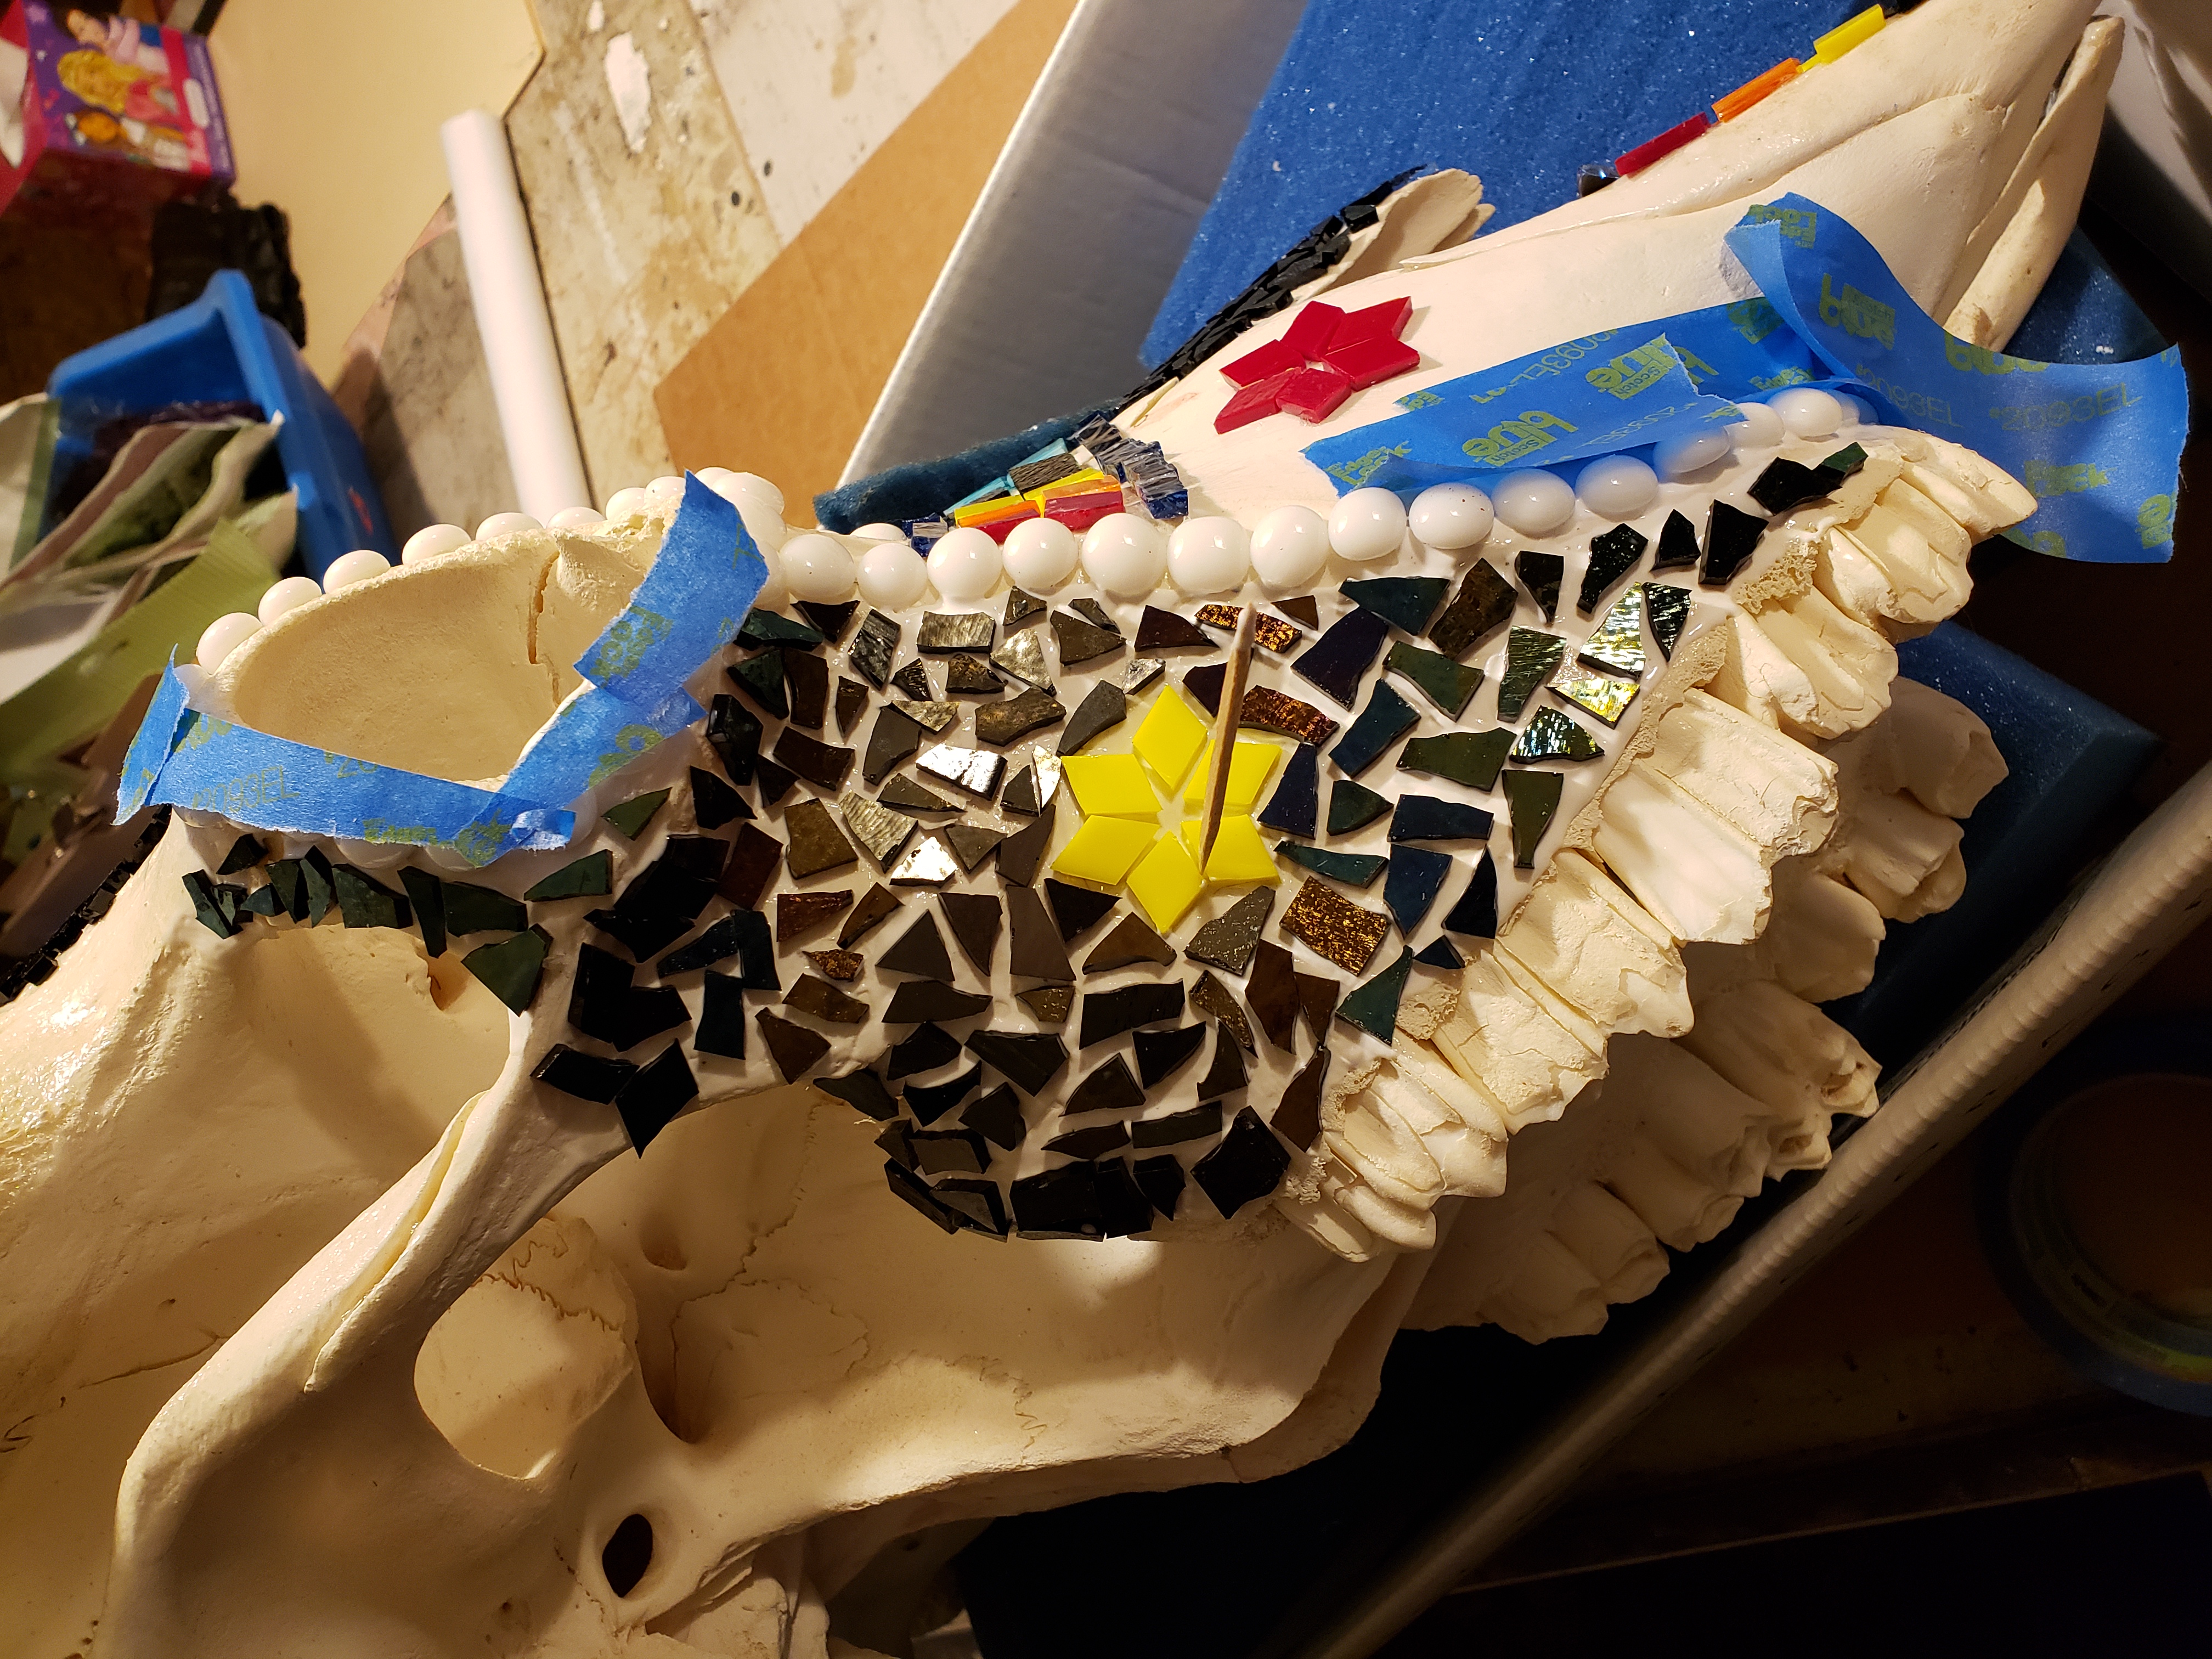
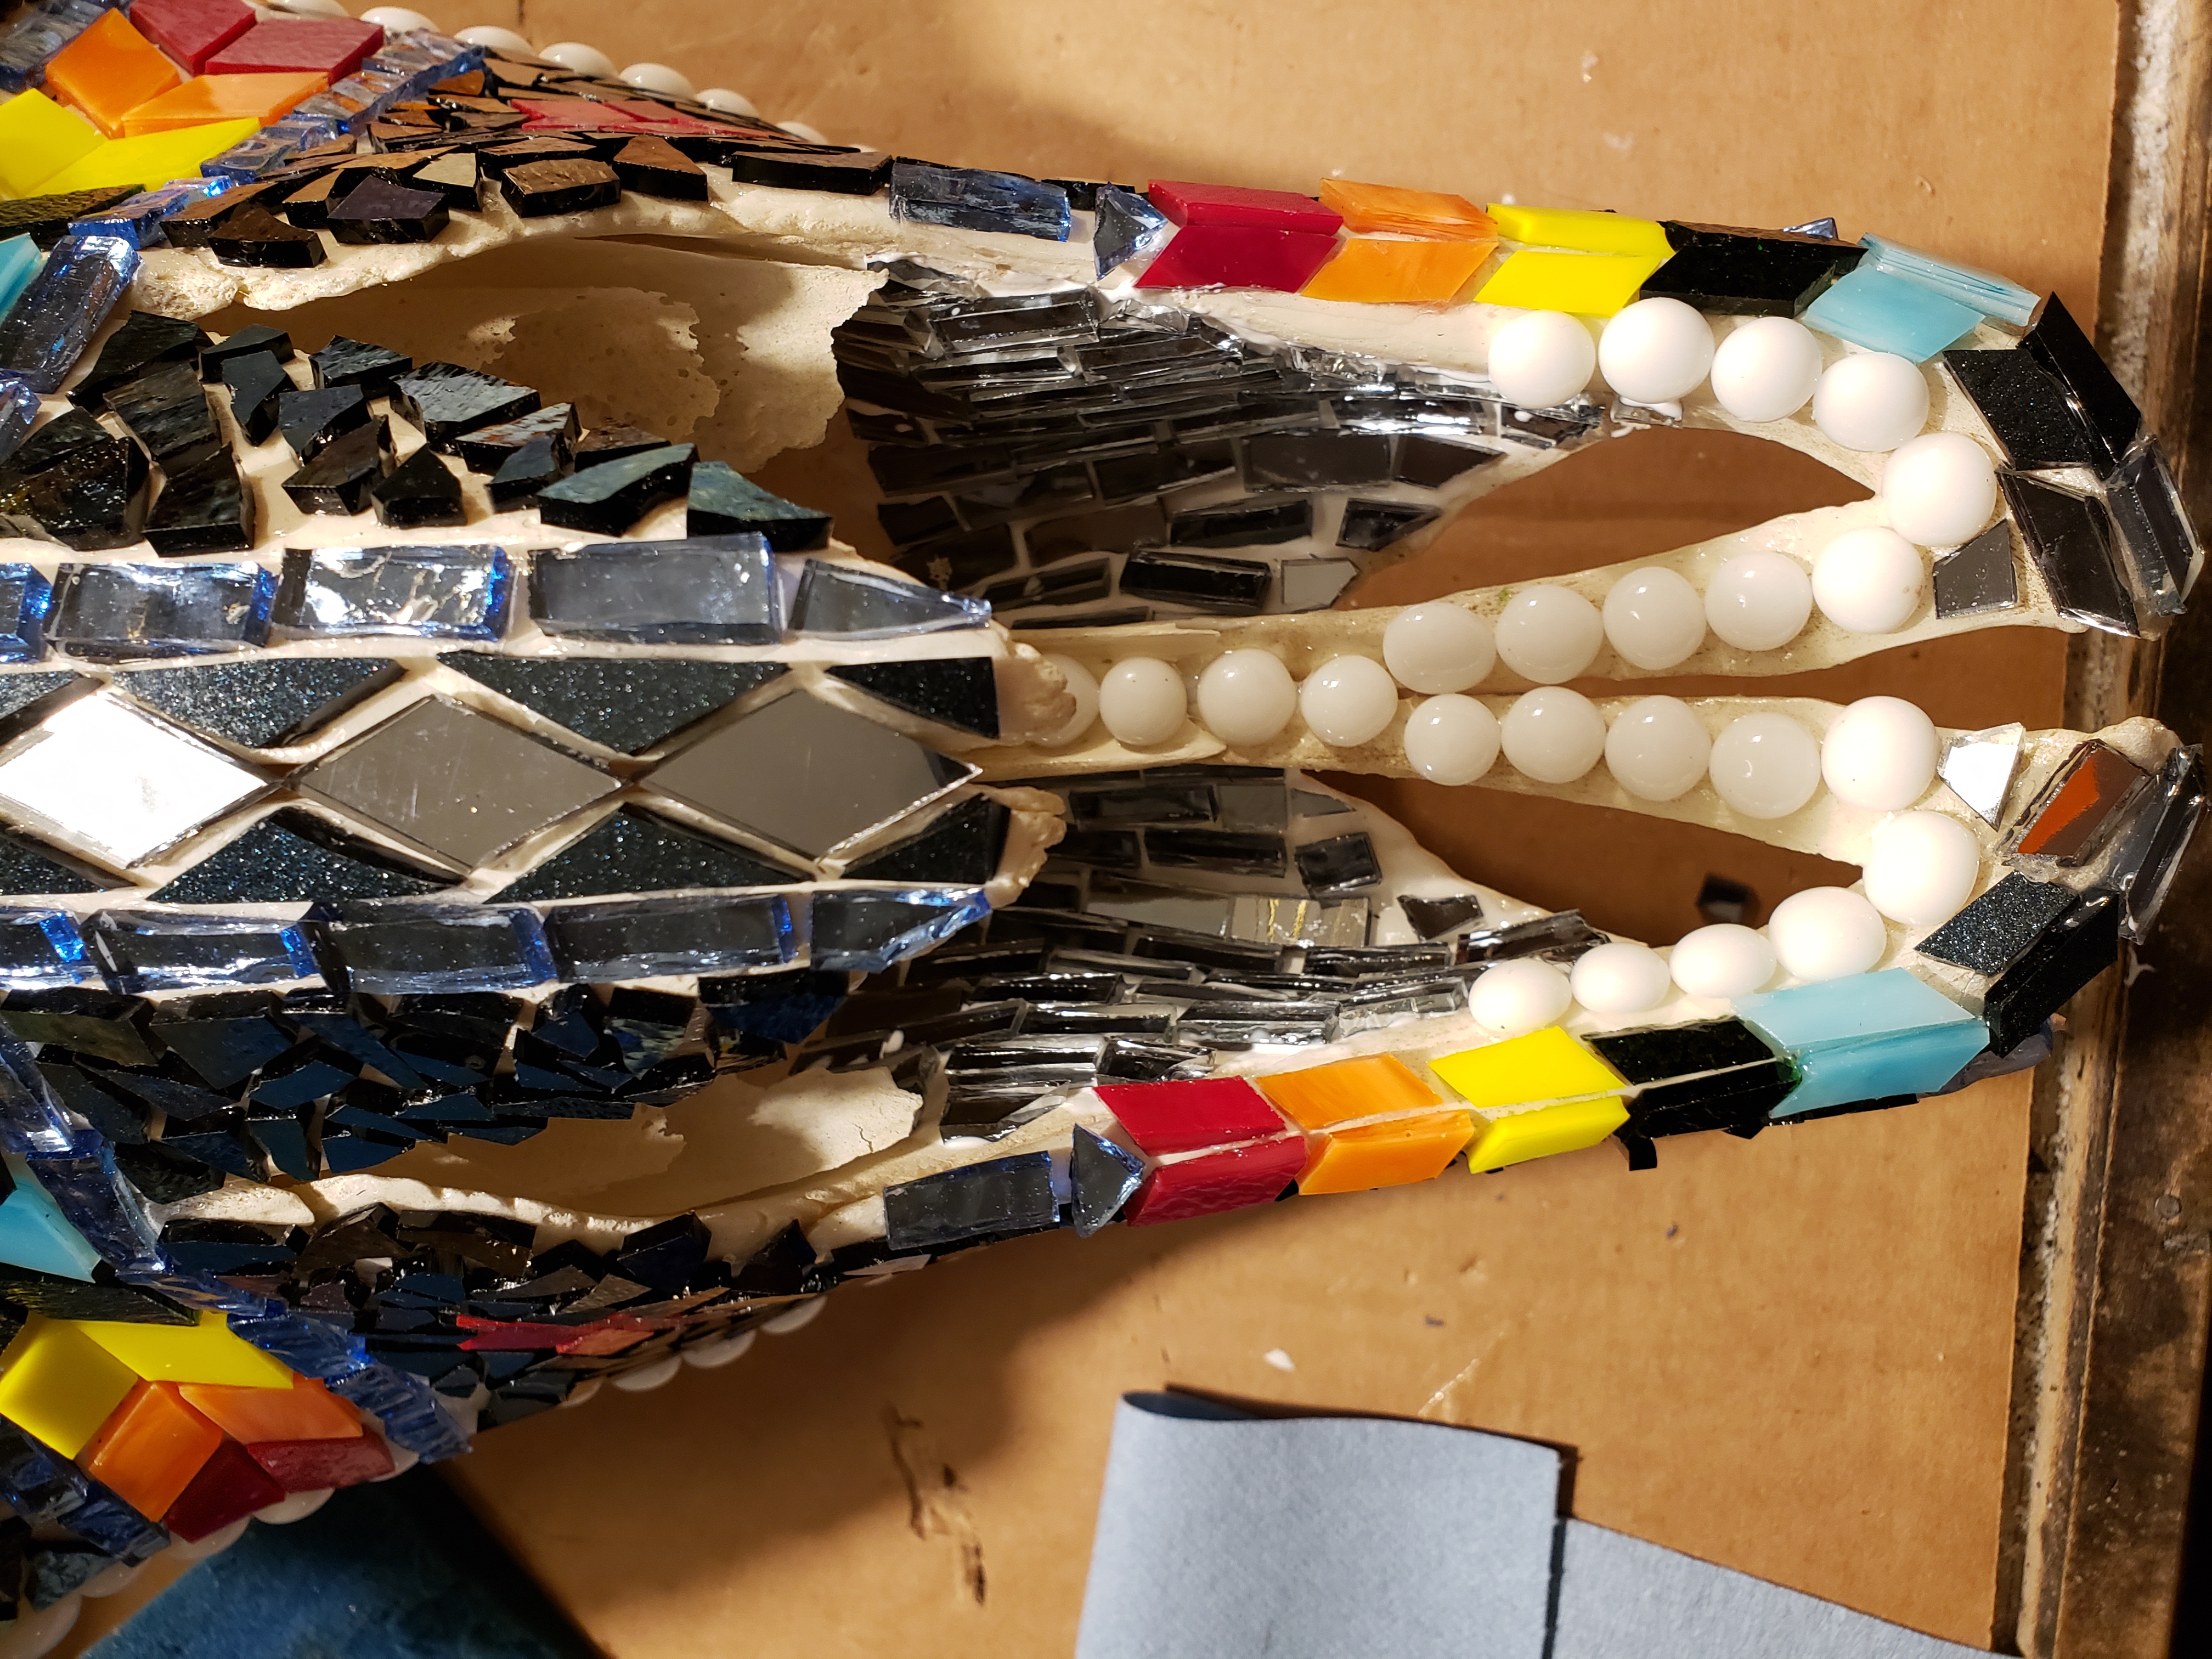
After I had to basic design in place I filled the open space with random shapes of rainbow iridized black glass. I made the white nuggets in my kiln using a half inch squares of white glass and heating them until the pulled up into little round domes.
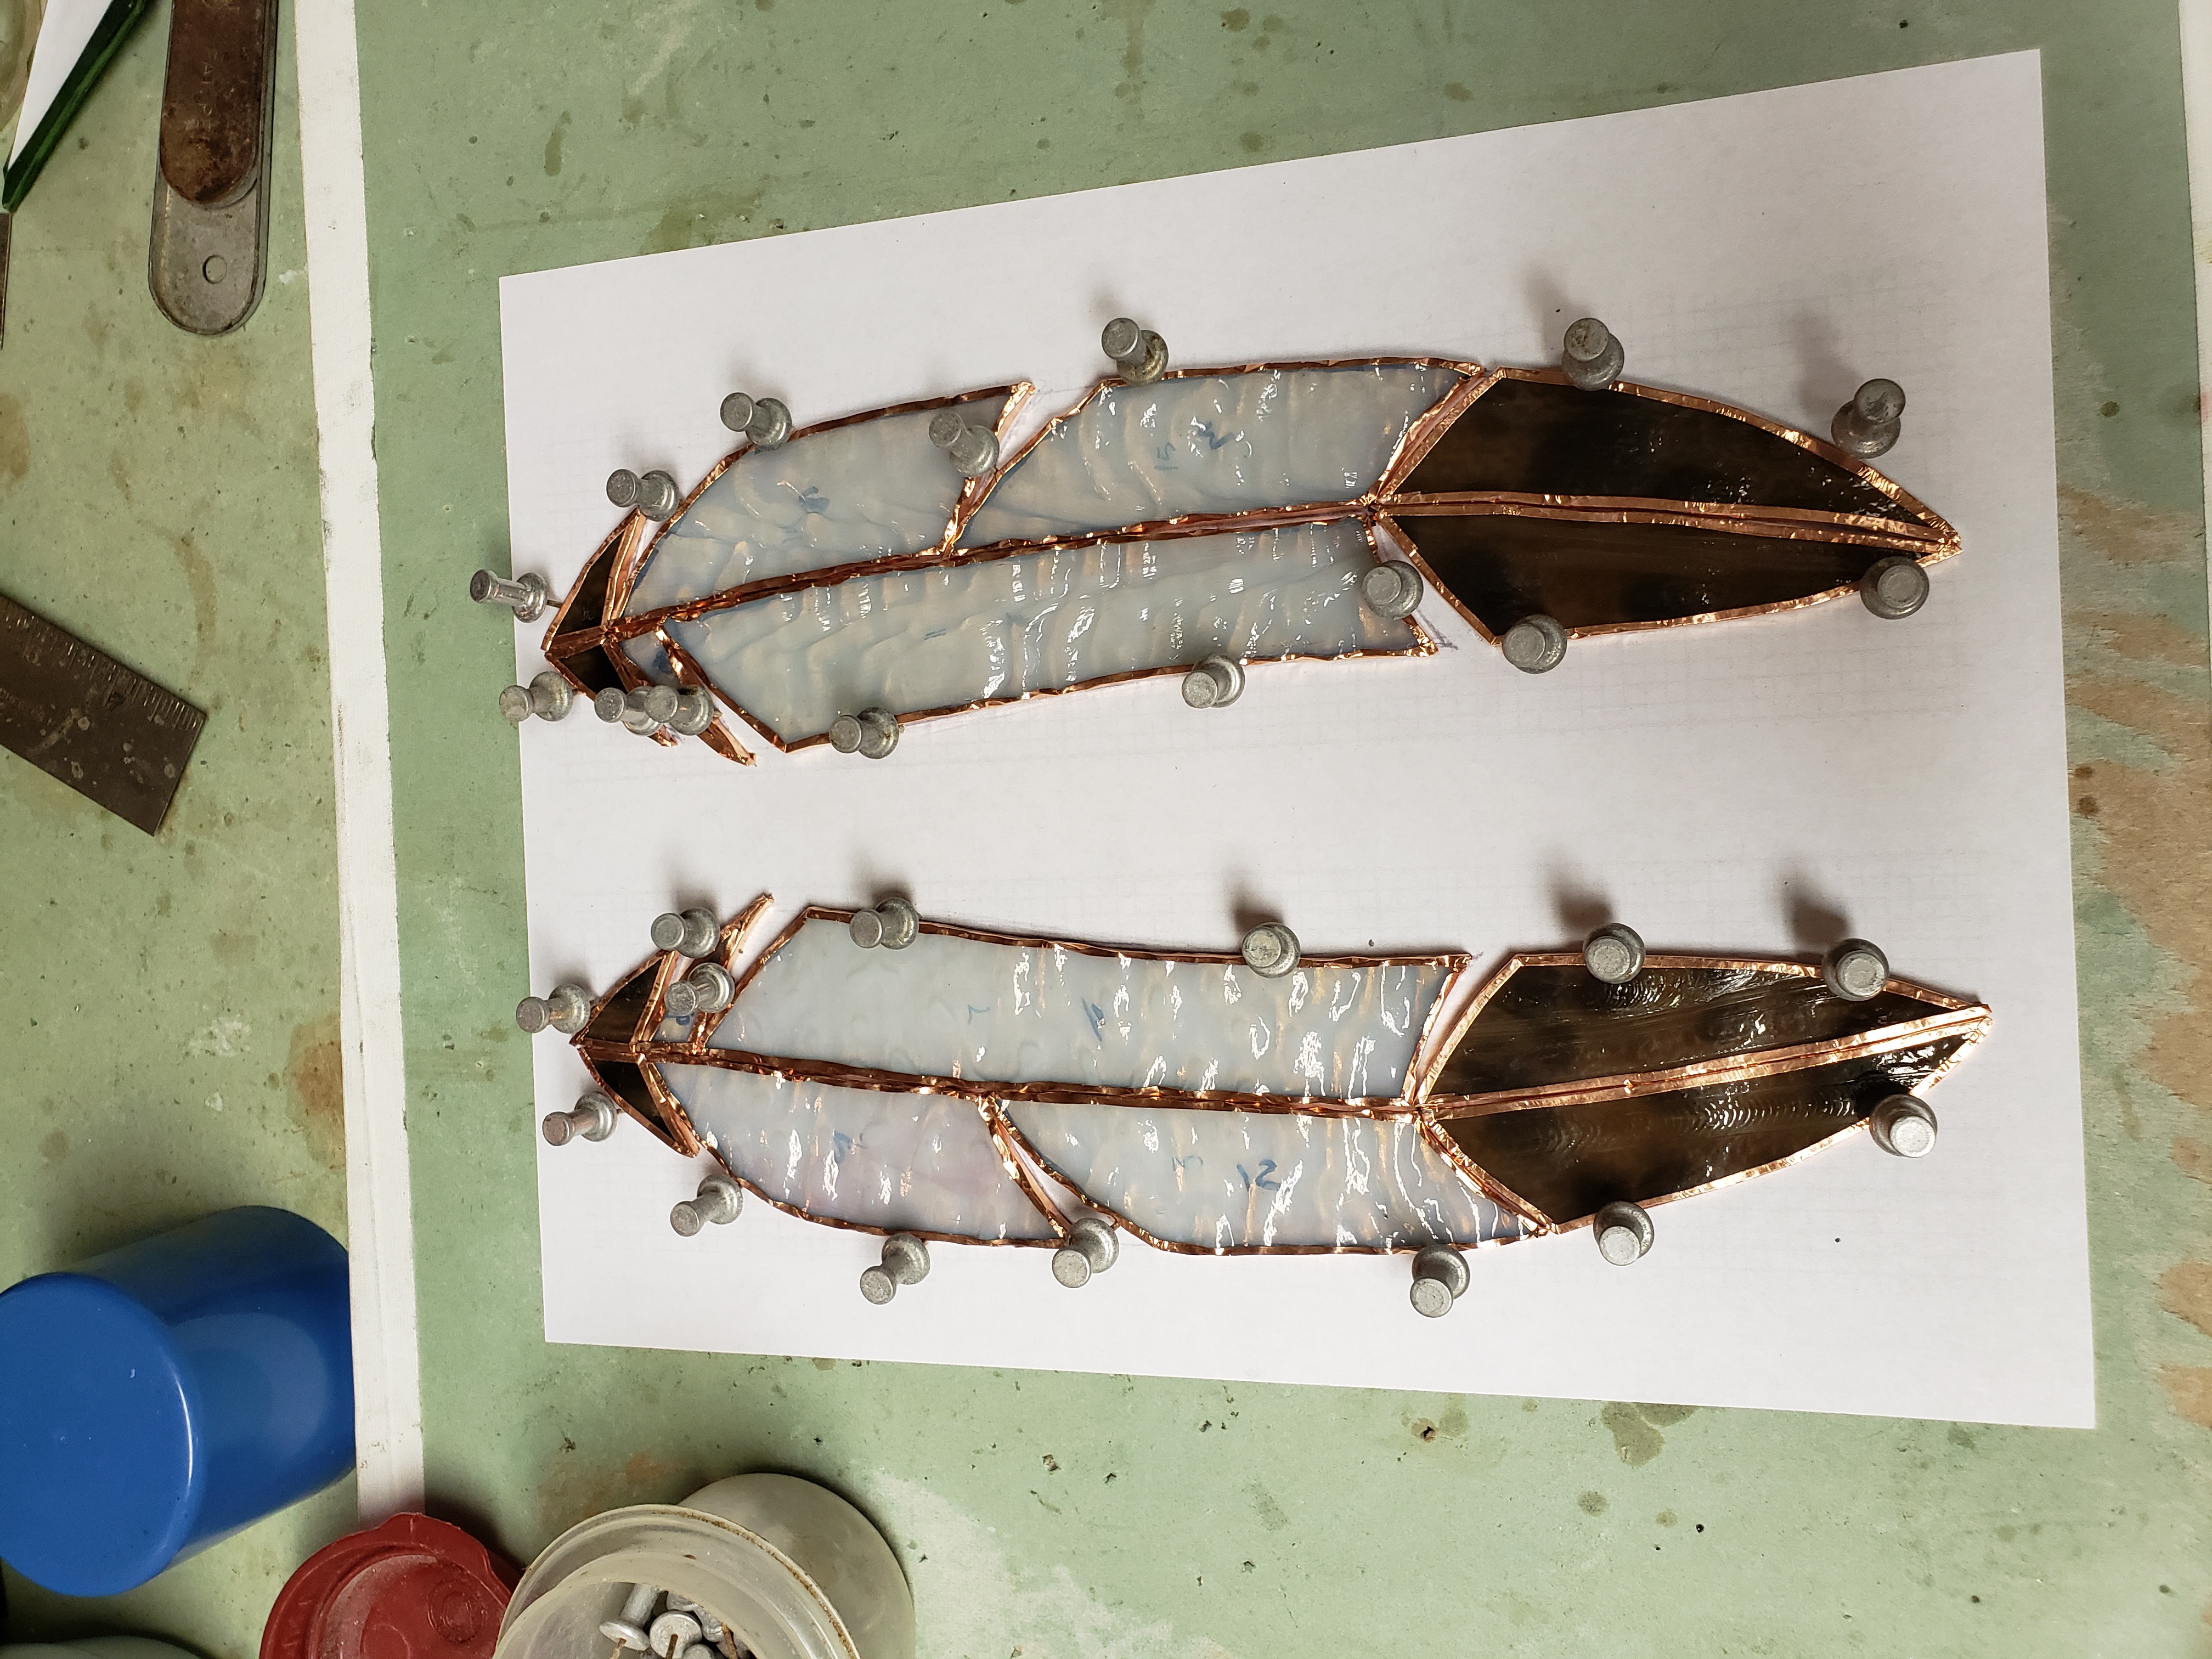
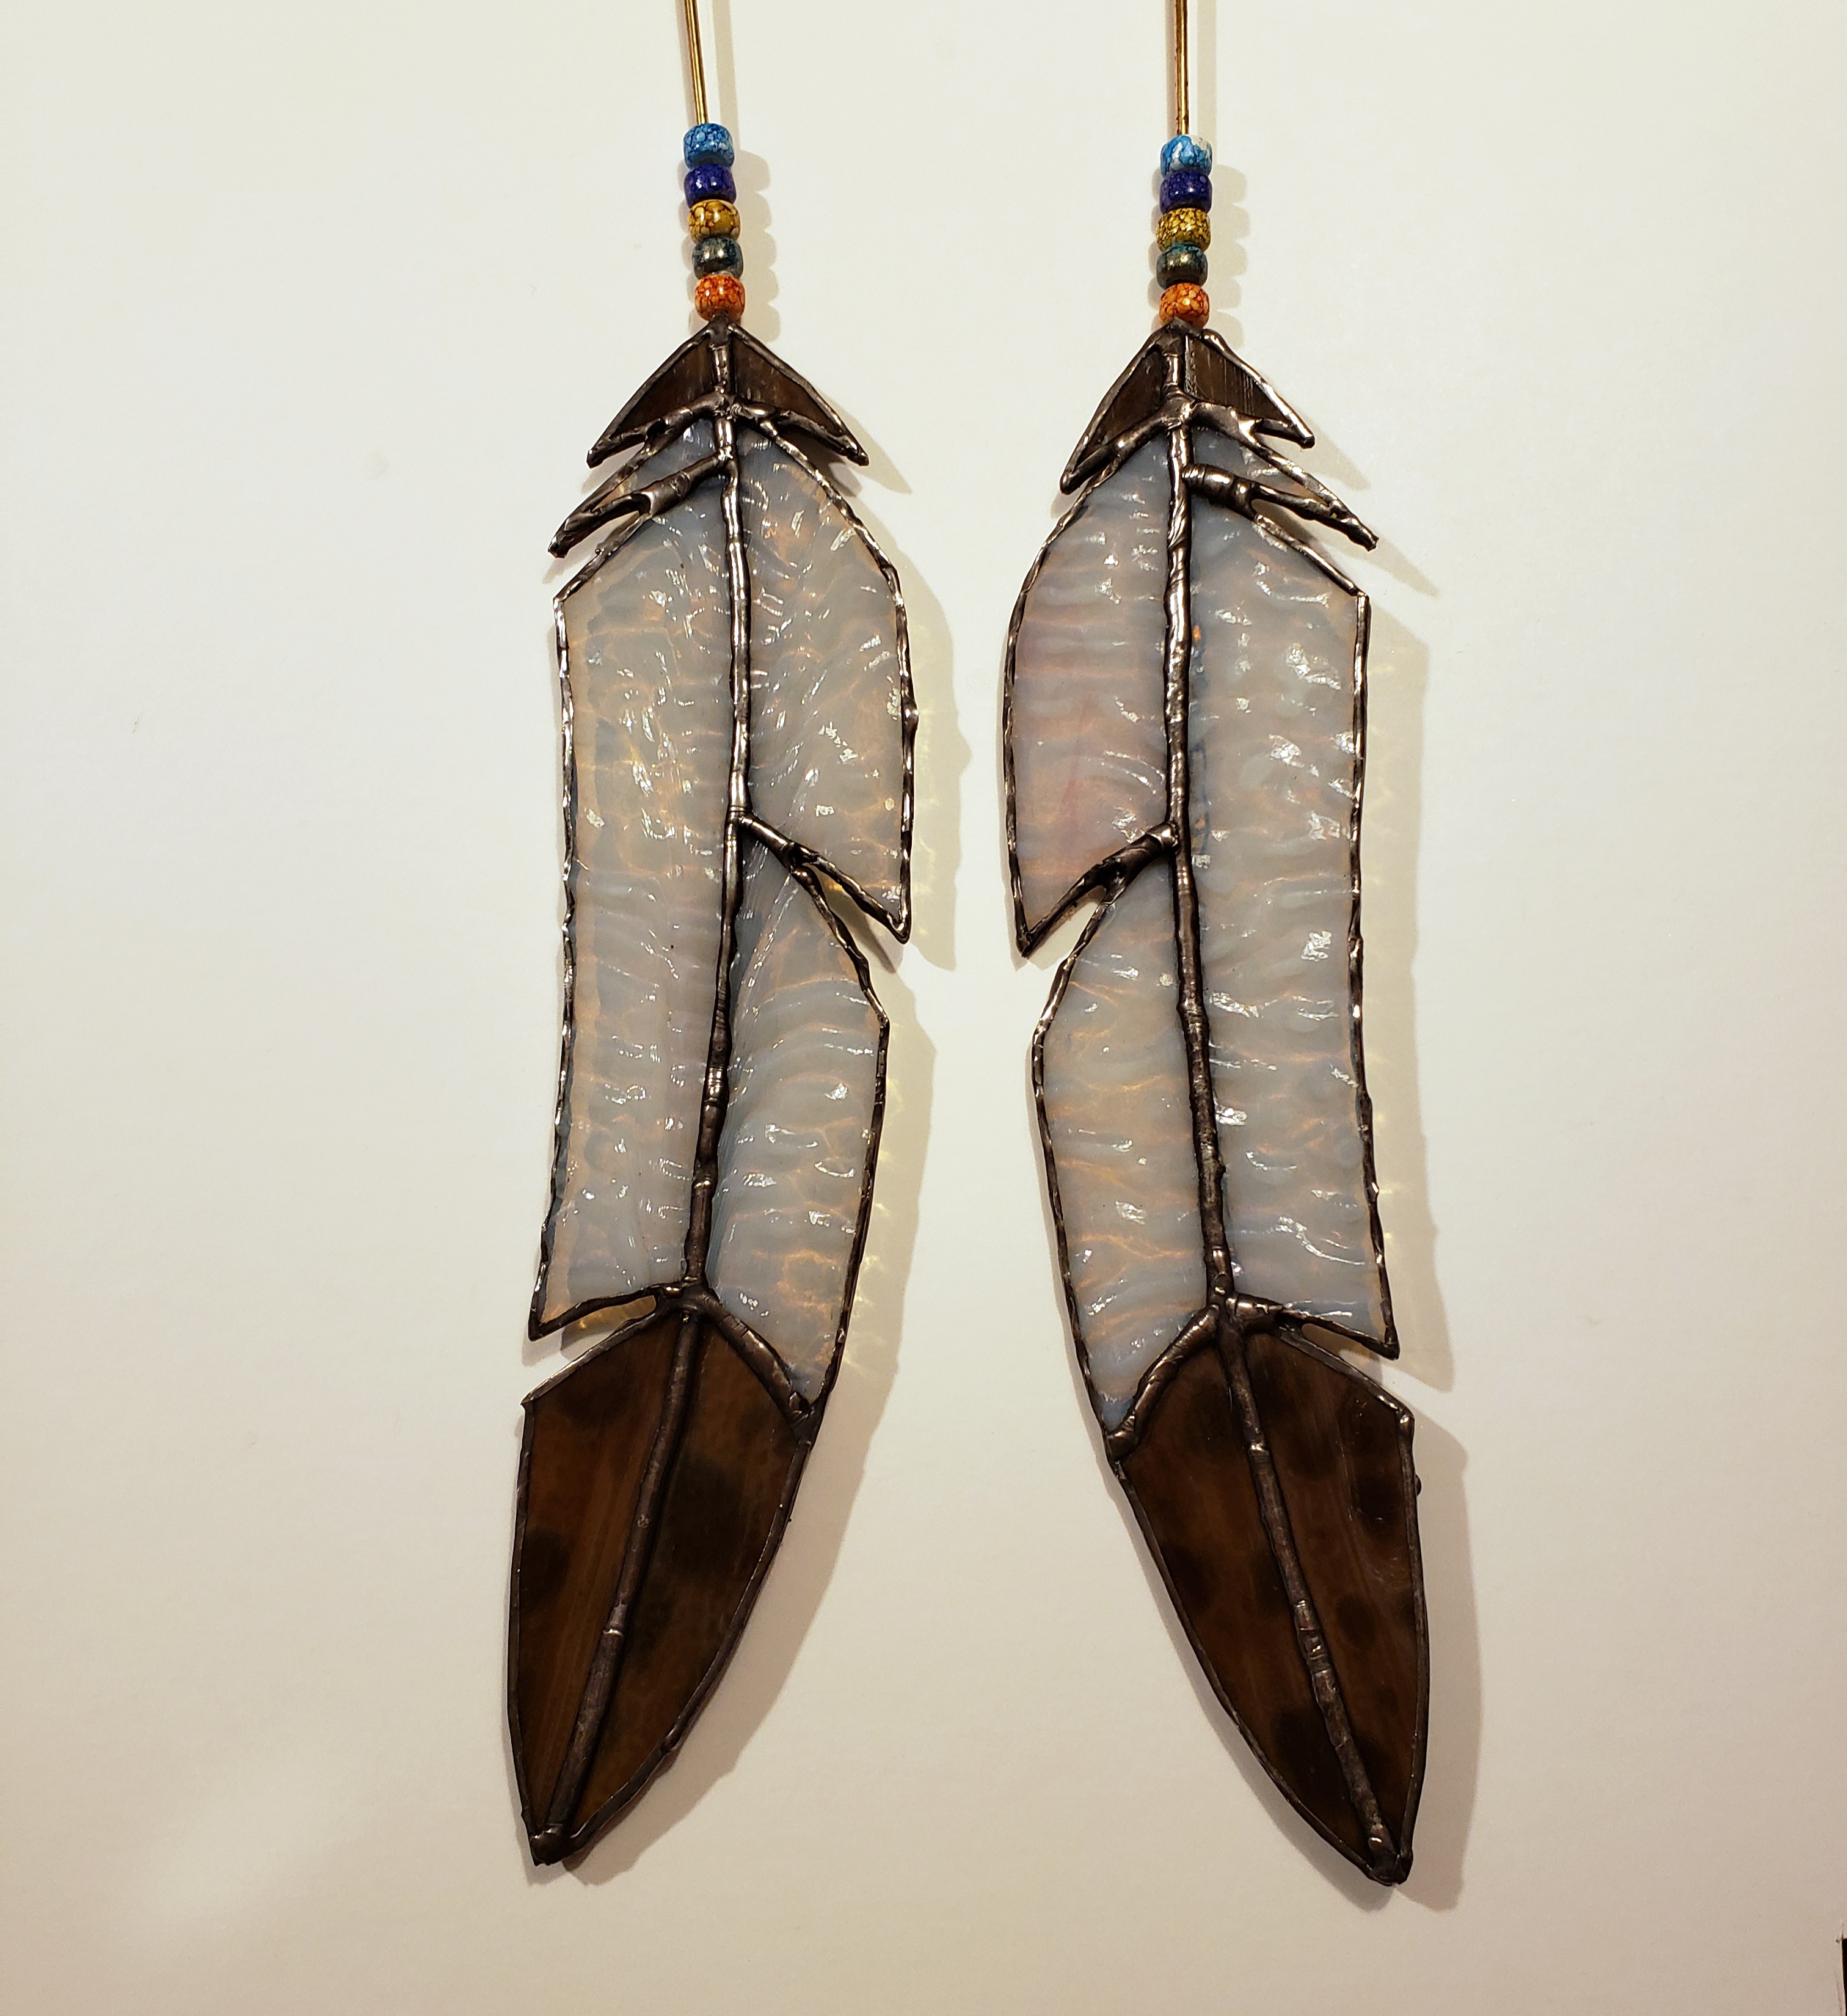
While waiting for the horn covers to be made - raise your hand if you thought bison horns were one solid piece - I made glass eagle feathers for embellishment.
 |
 |
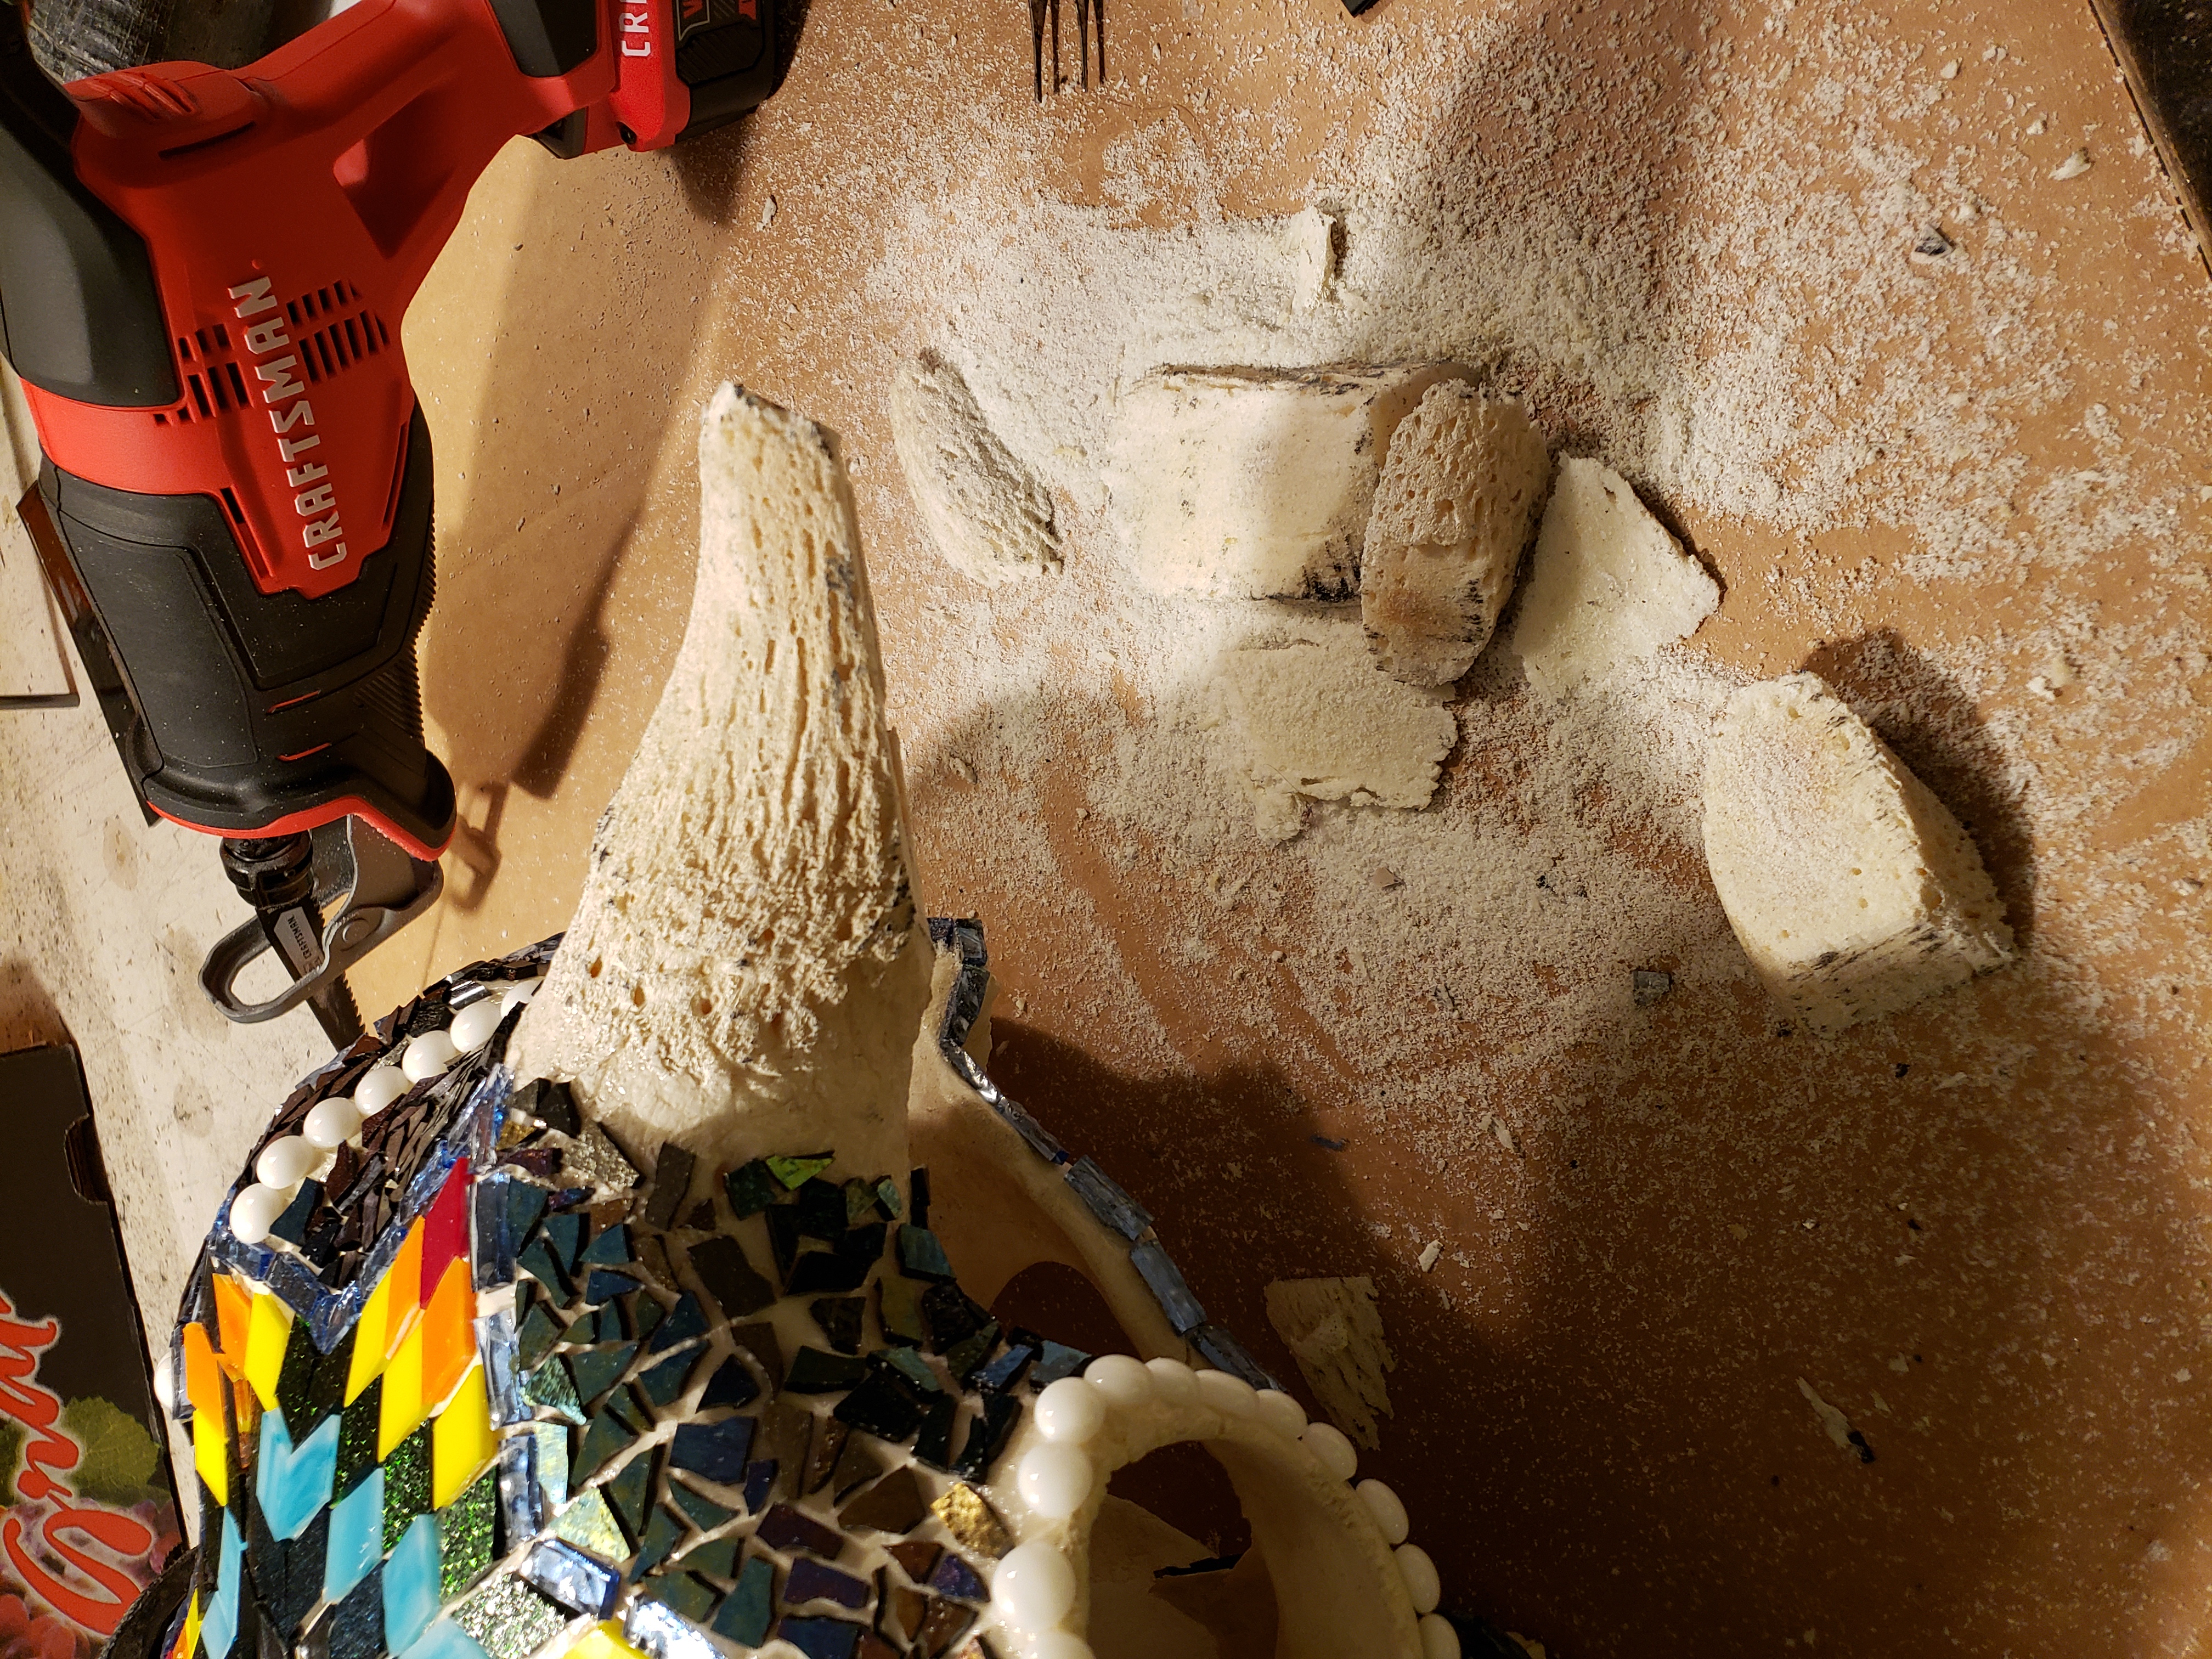
When the horn covers arrived, I had to trim down the bone to fit the new horns, then epoxy them in place.
 |
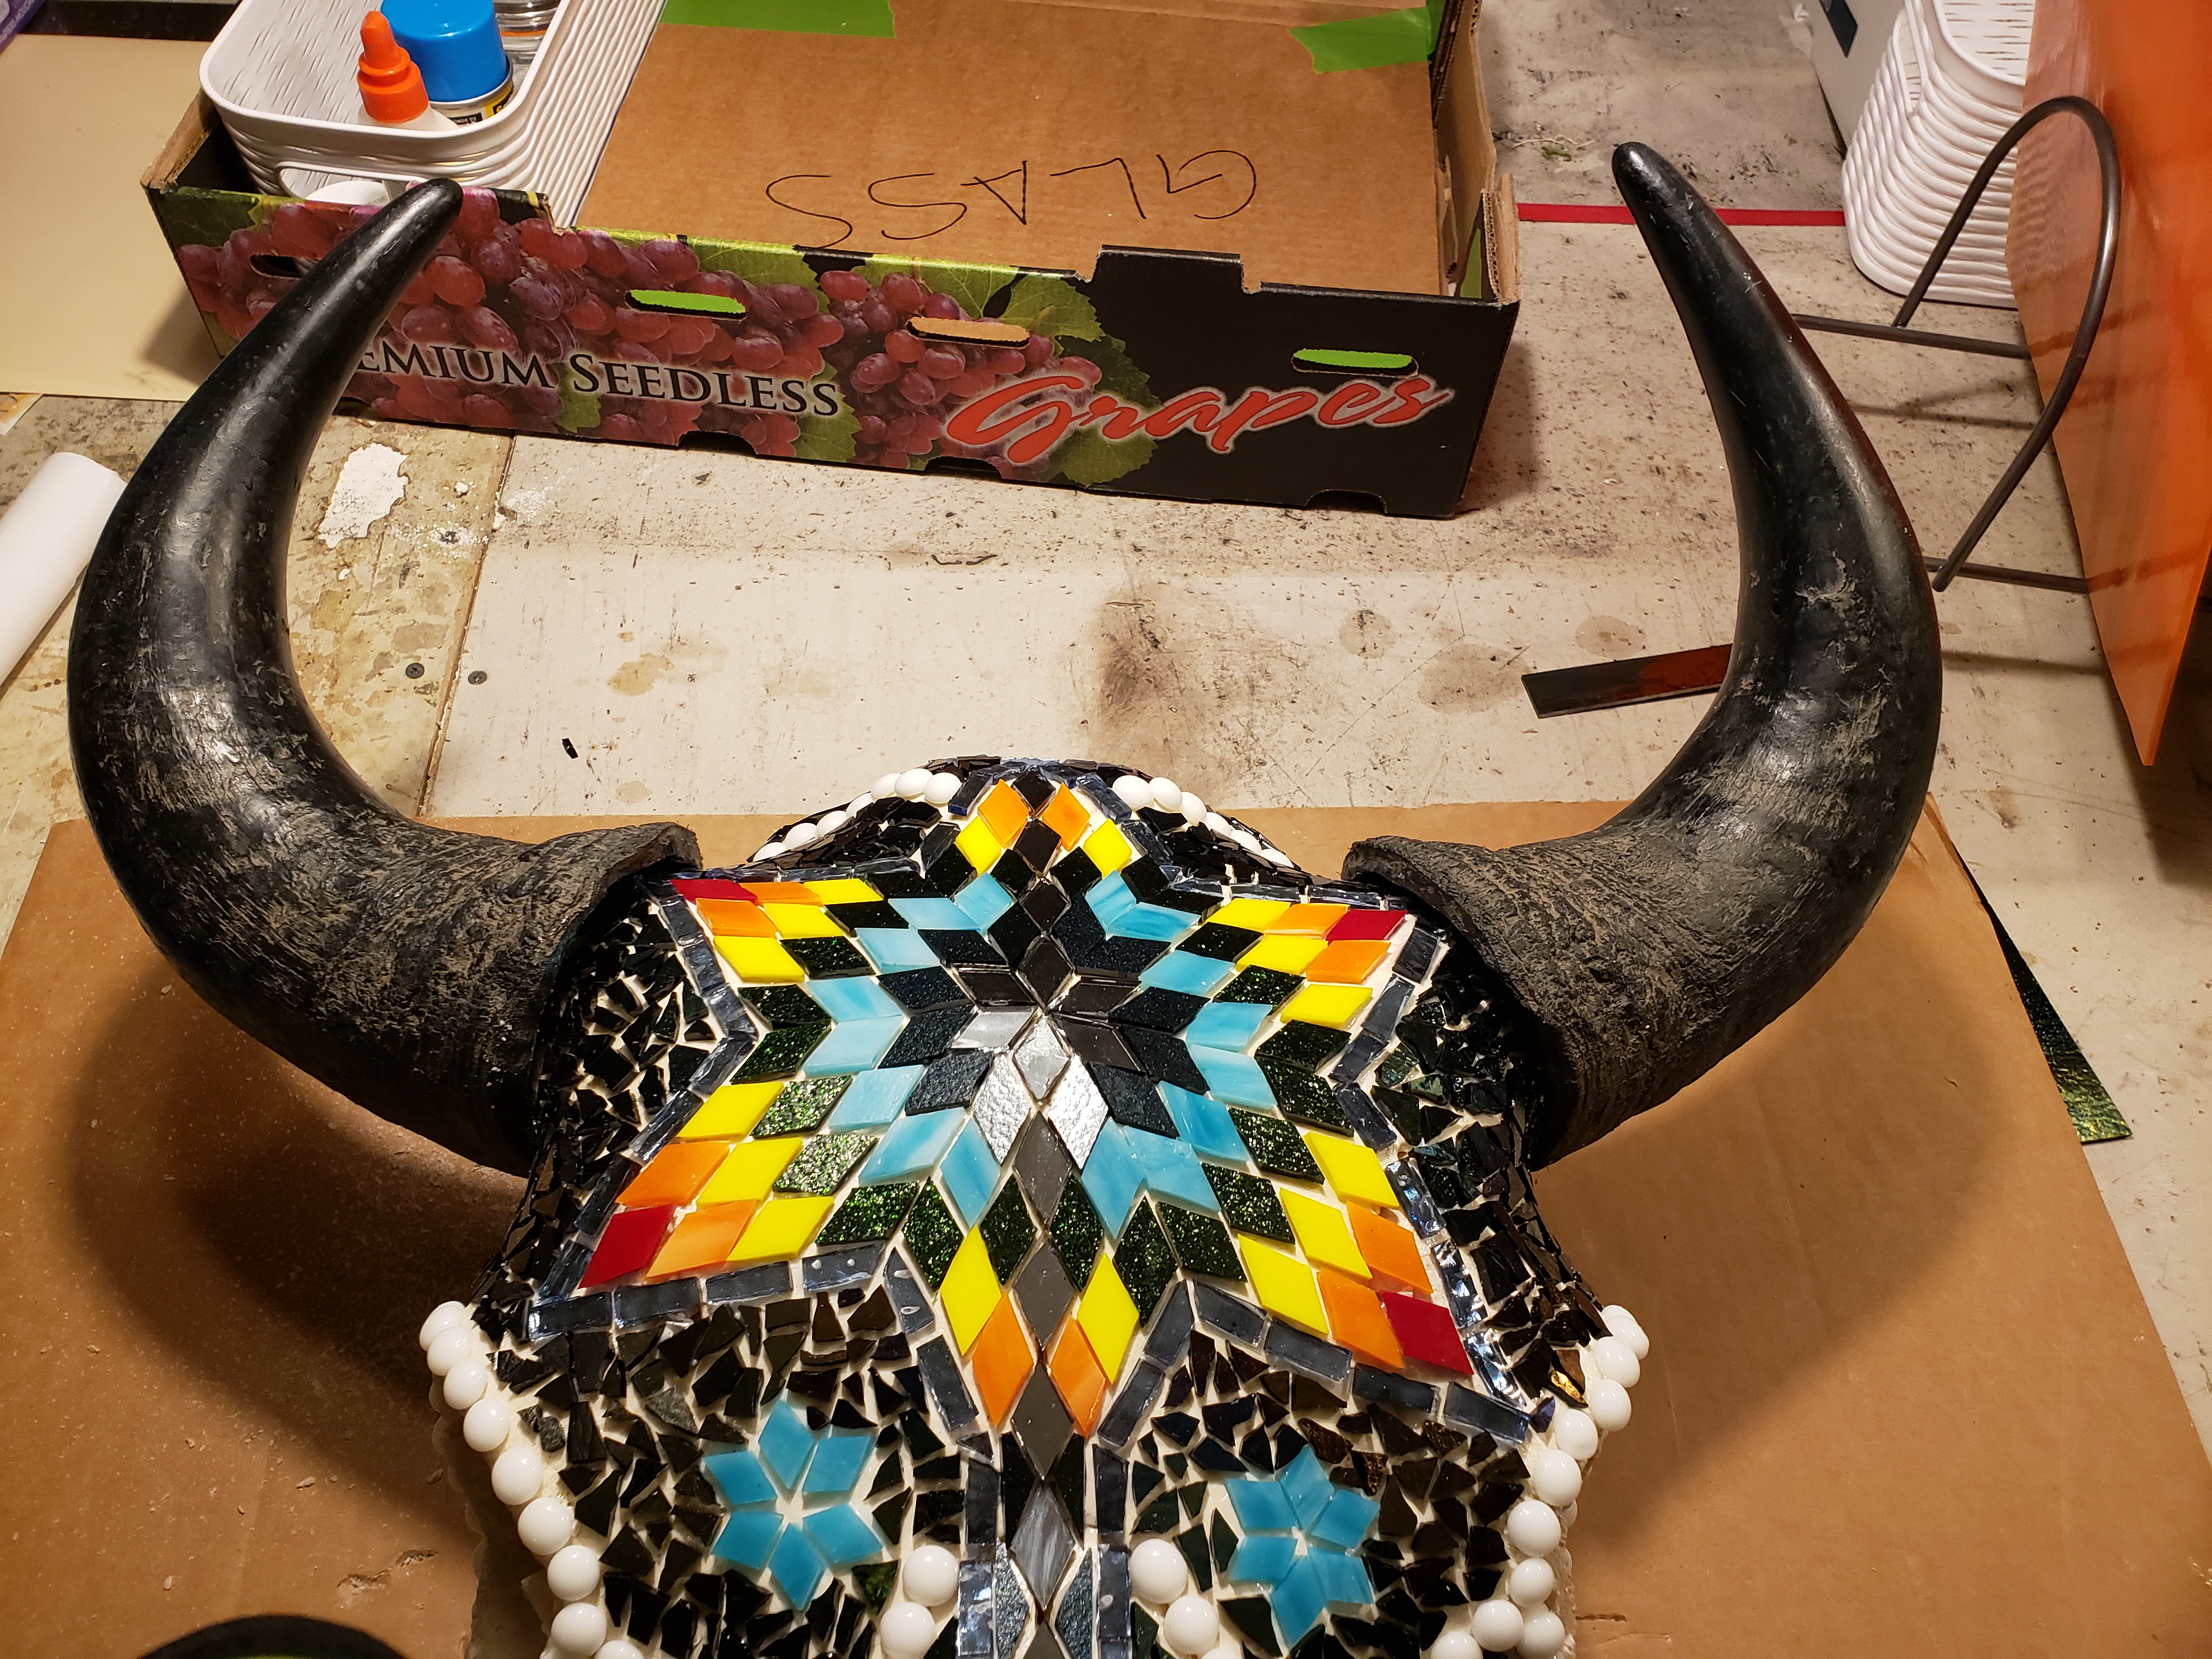 |
With the horns in place, I put on the last pieces of glass tile and was ready to grout the whole thing.
 |
 |
Grout was a new experience for me. I did small areas at a time to avoid having a bigger mess than I needed.
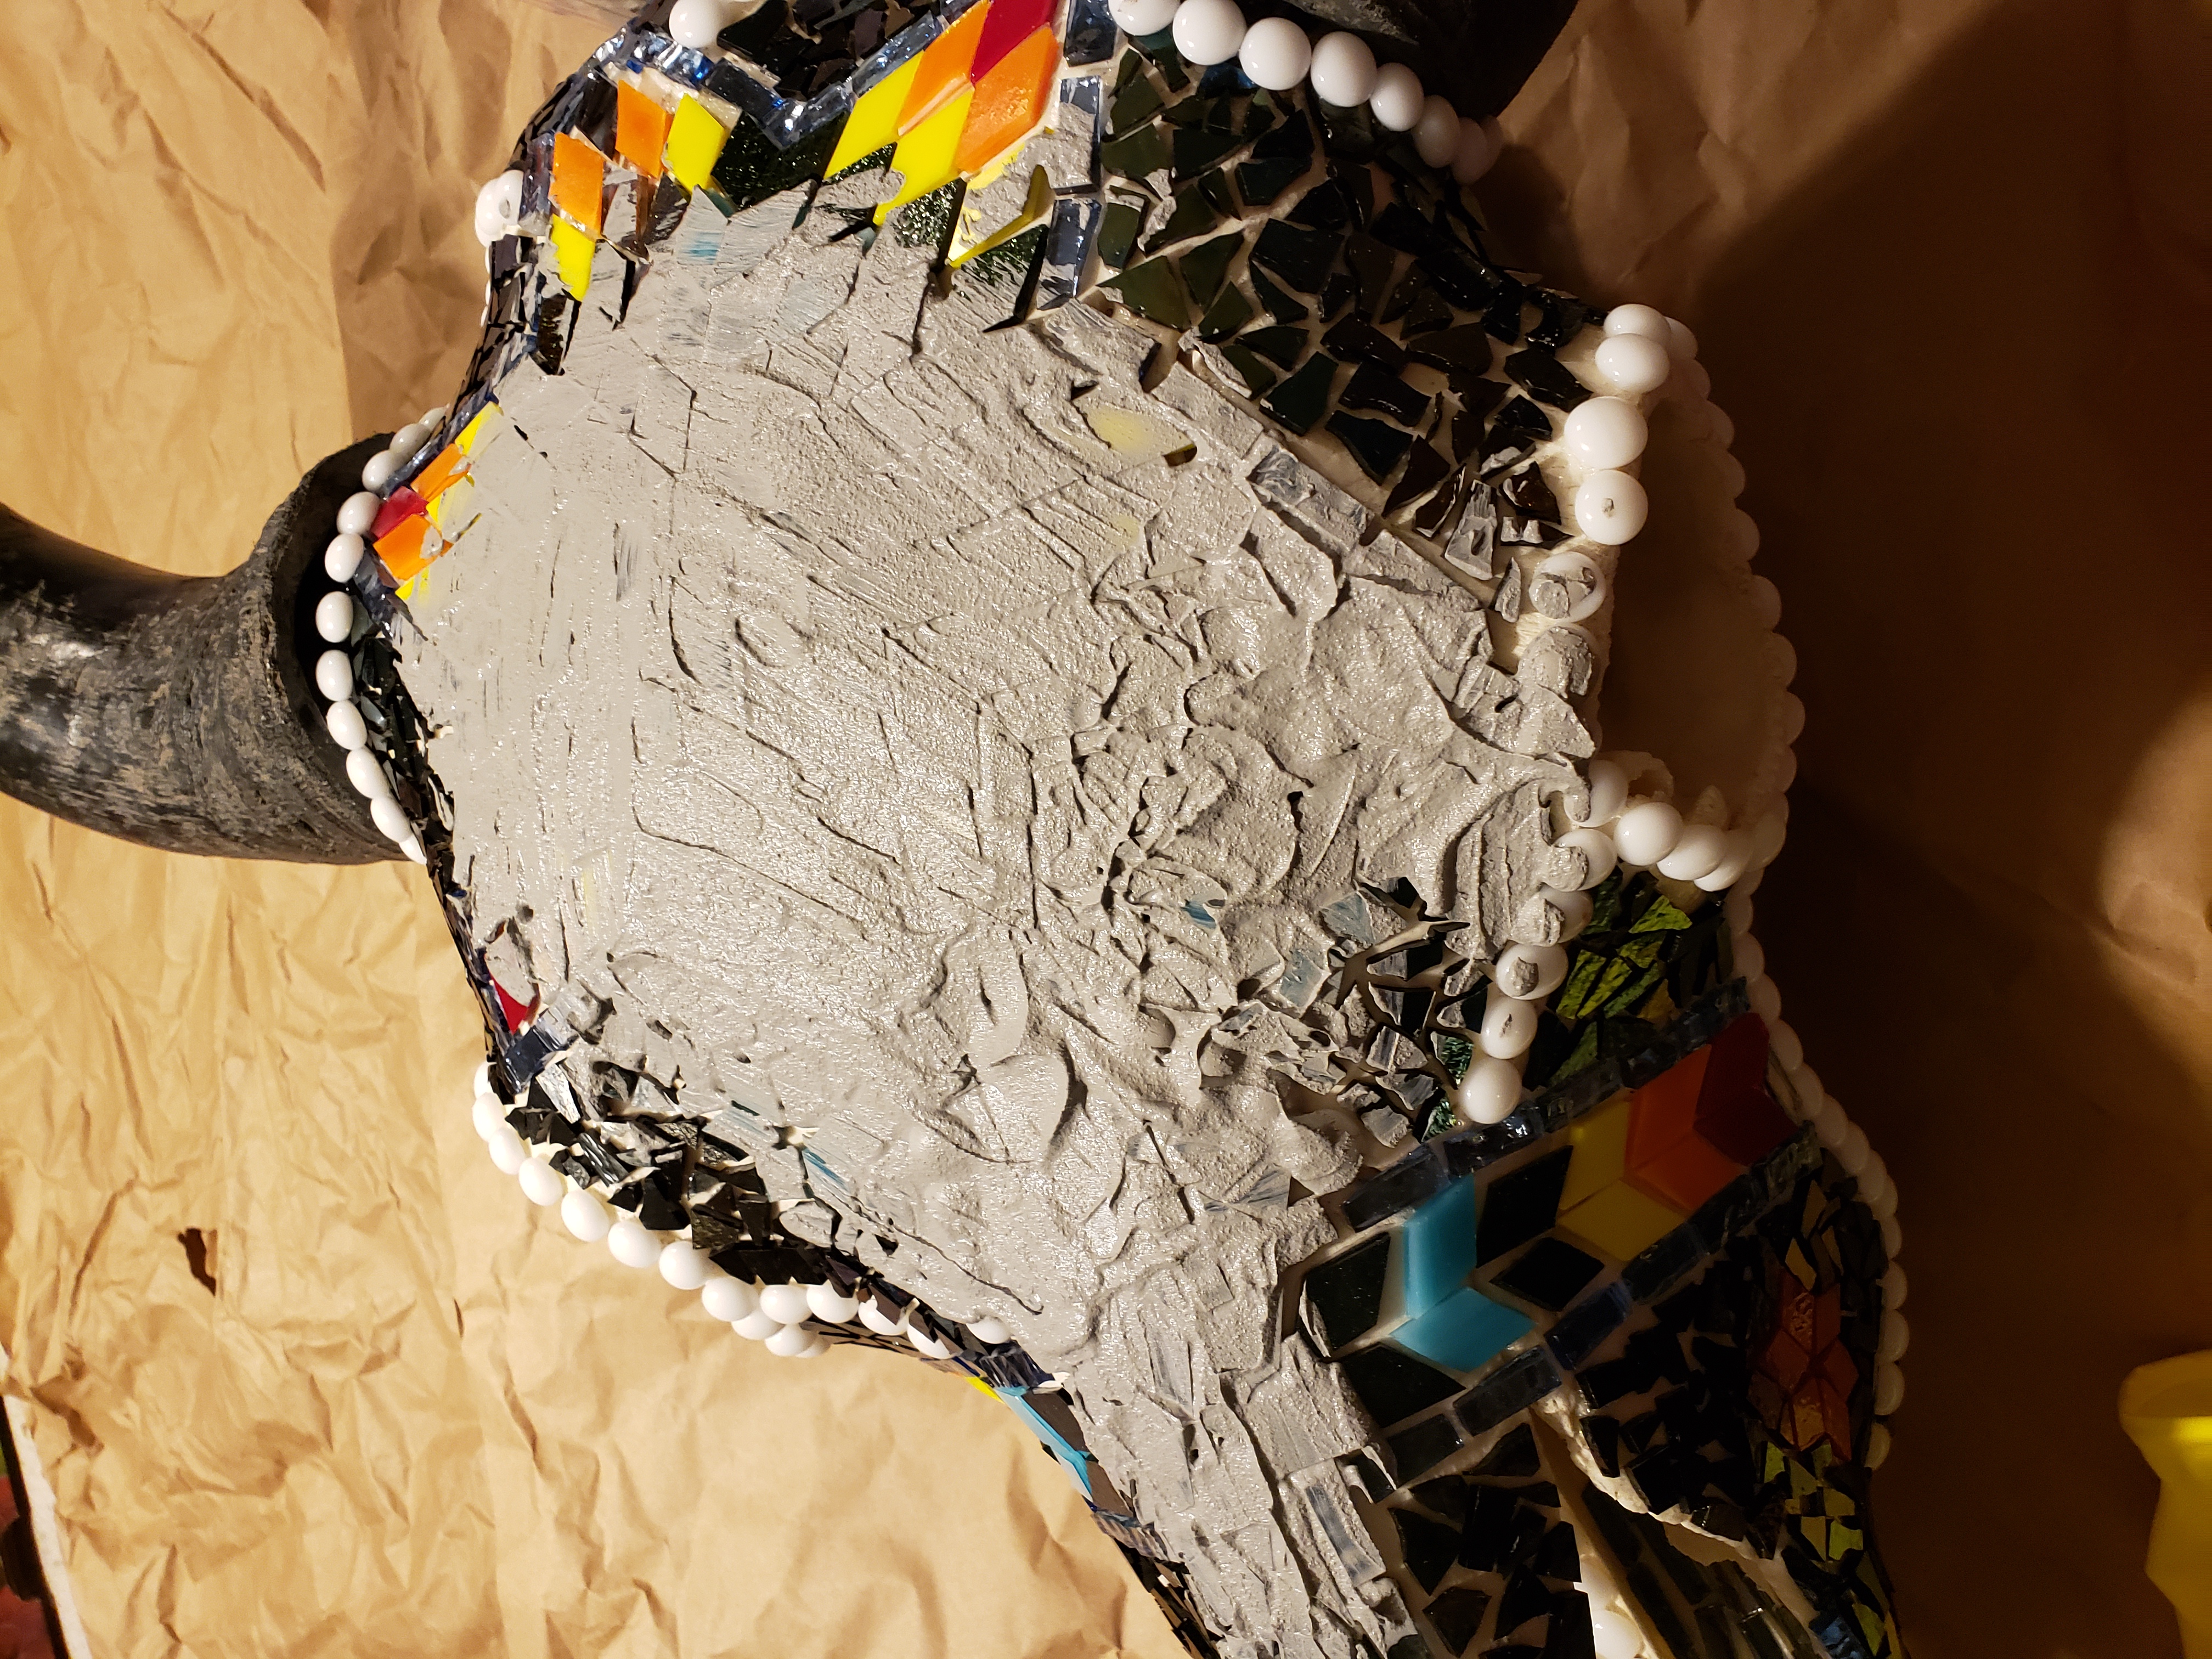
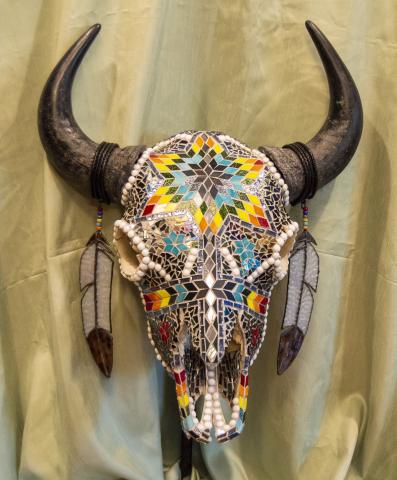
After the grout has a chance to set, I sealed it. The grout had a richer color after adding the sealer. Then I added the eagle feathers and some leather braid to the horns.
And it was complete. I'm not sure if this one will ever be for sale... for now, I'm just going to admire it every time I see it.